We use cookies to improve your experience when using our site. For example, cookies will help us remember you and will assist us in showing you content we think you'll be interested in. To find out more, read our
Privacy Policy
To apply for careers, cookies are necessary for the applications to run properly. Please accept cookies for processing your information. Rest assured, your information will not be shared.
By clicking "OK", you consent to our use of cookies
Usually sniffles and tears follow the toppling of an ice cream cone.
But not this one.
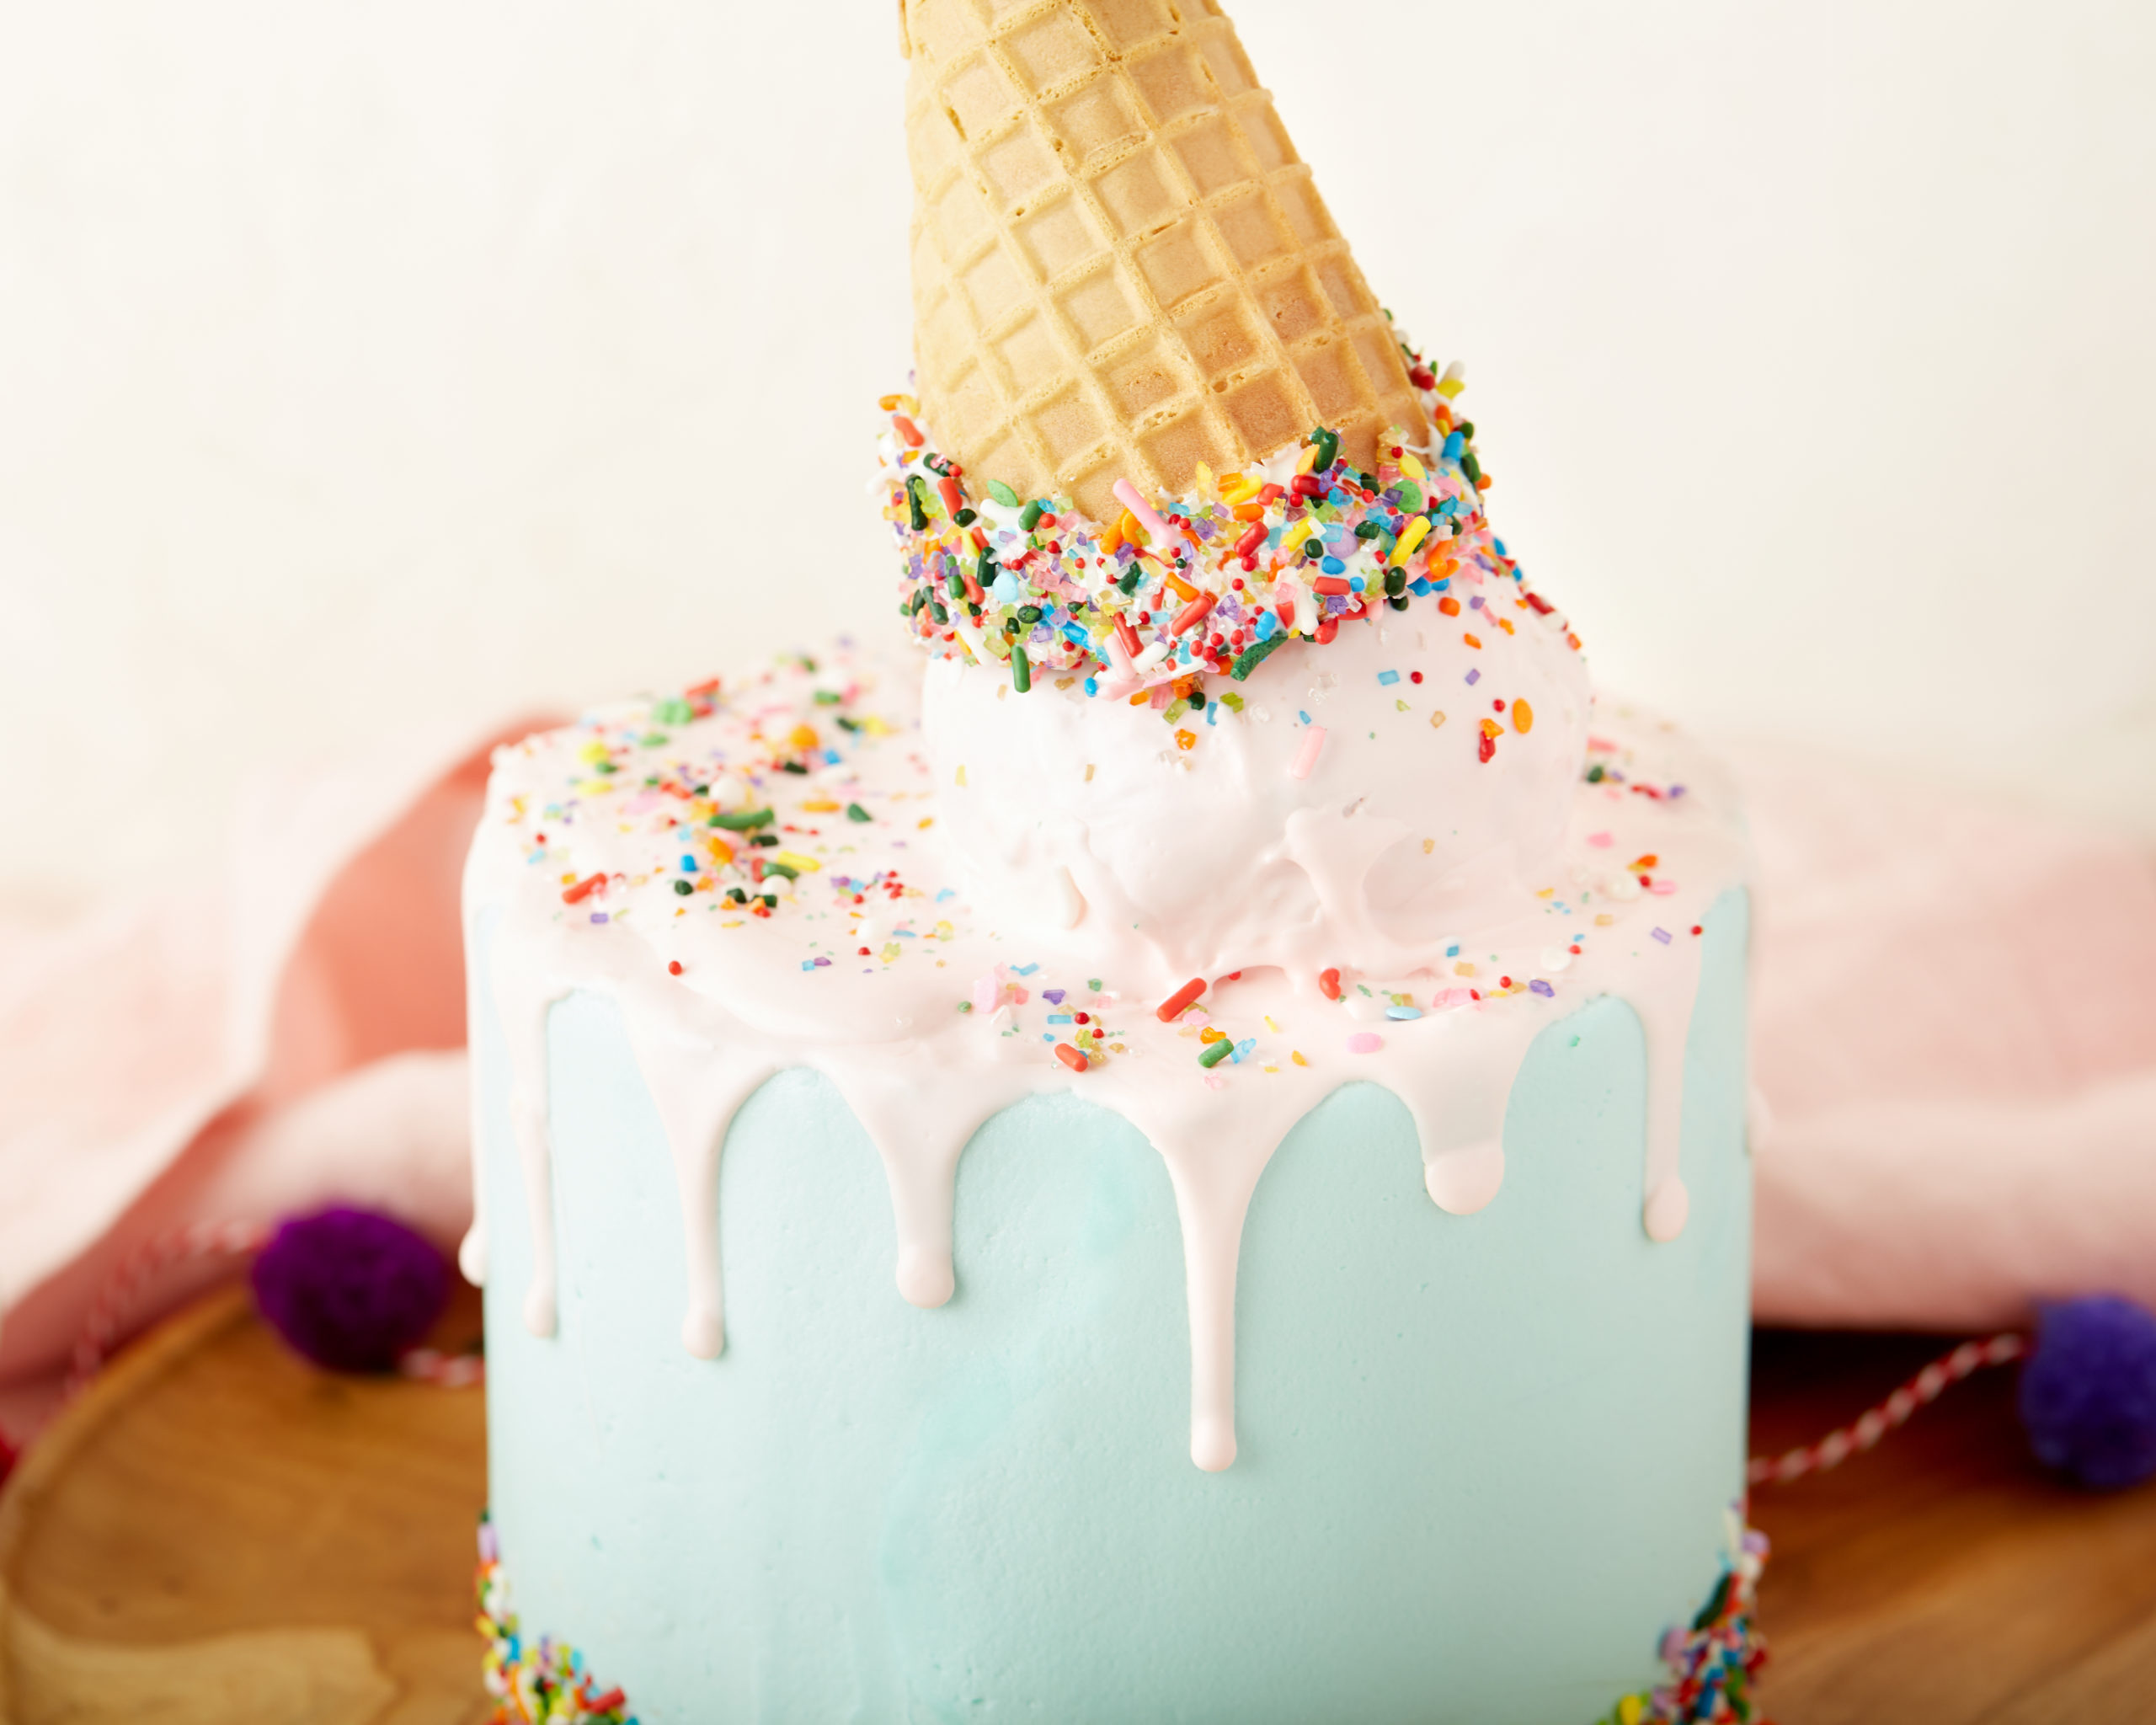
That’s why we — and others with a penchant for ice cream and cones — love the optical illusion of the “melting ice cream cone” cake. Whether it’s a treat for guests at a birthday party, a gender-reveal party, or a just-’cause party, a cake with a little personality and flair will leave your guests with only smiles.
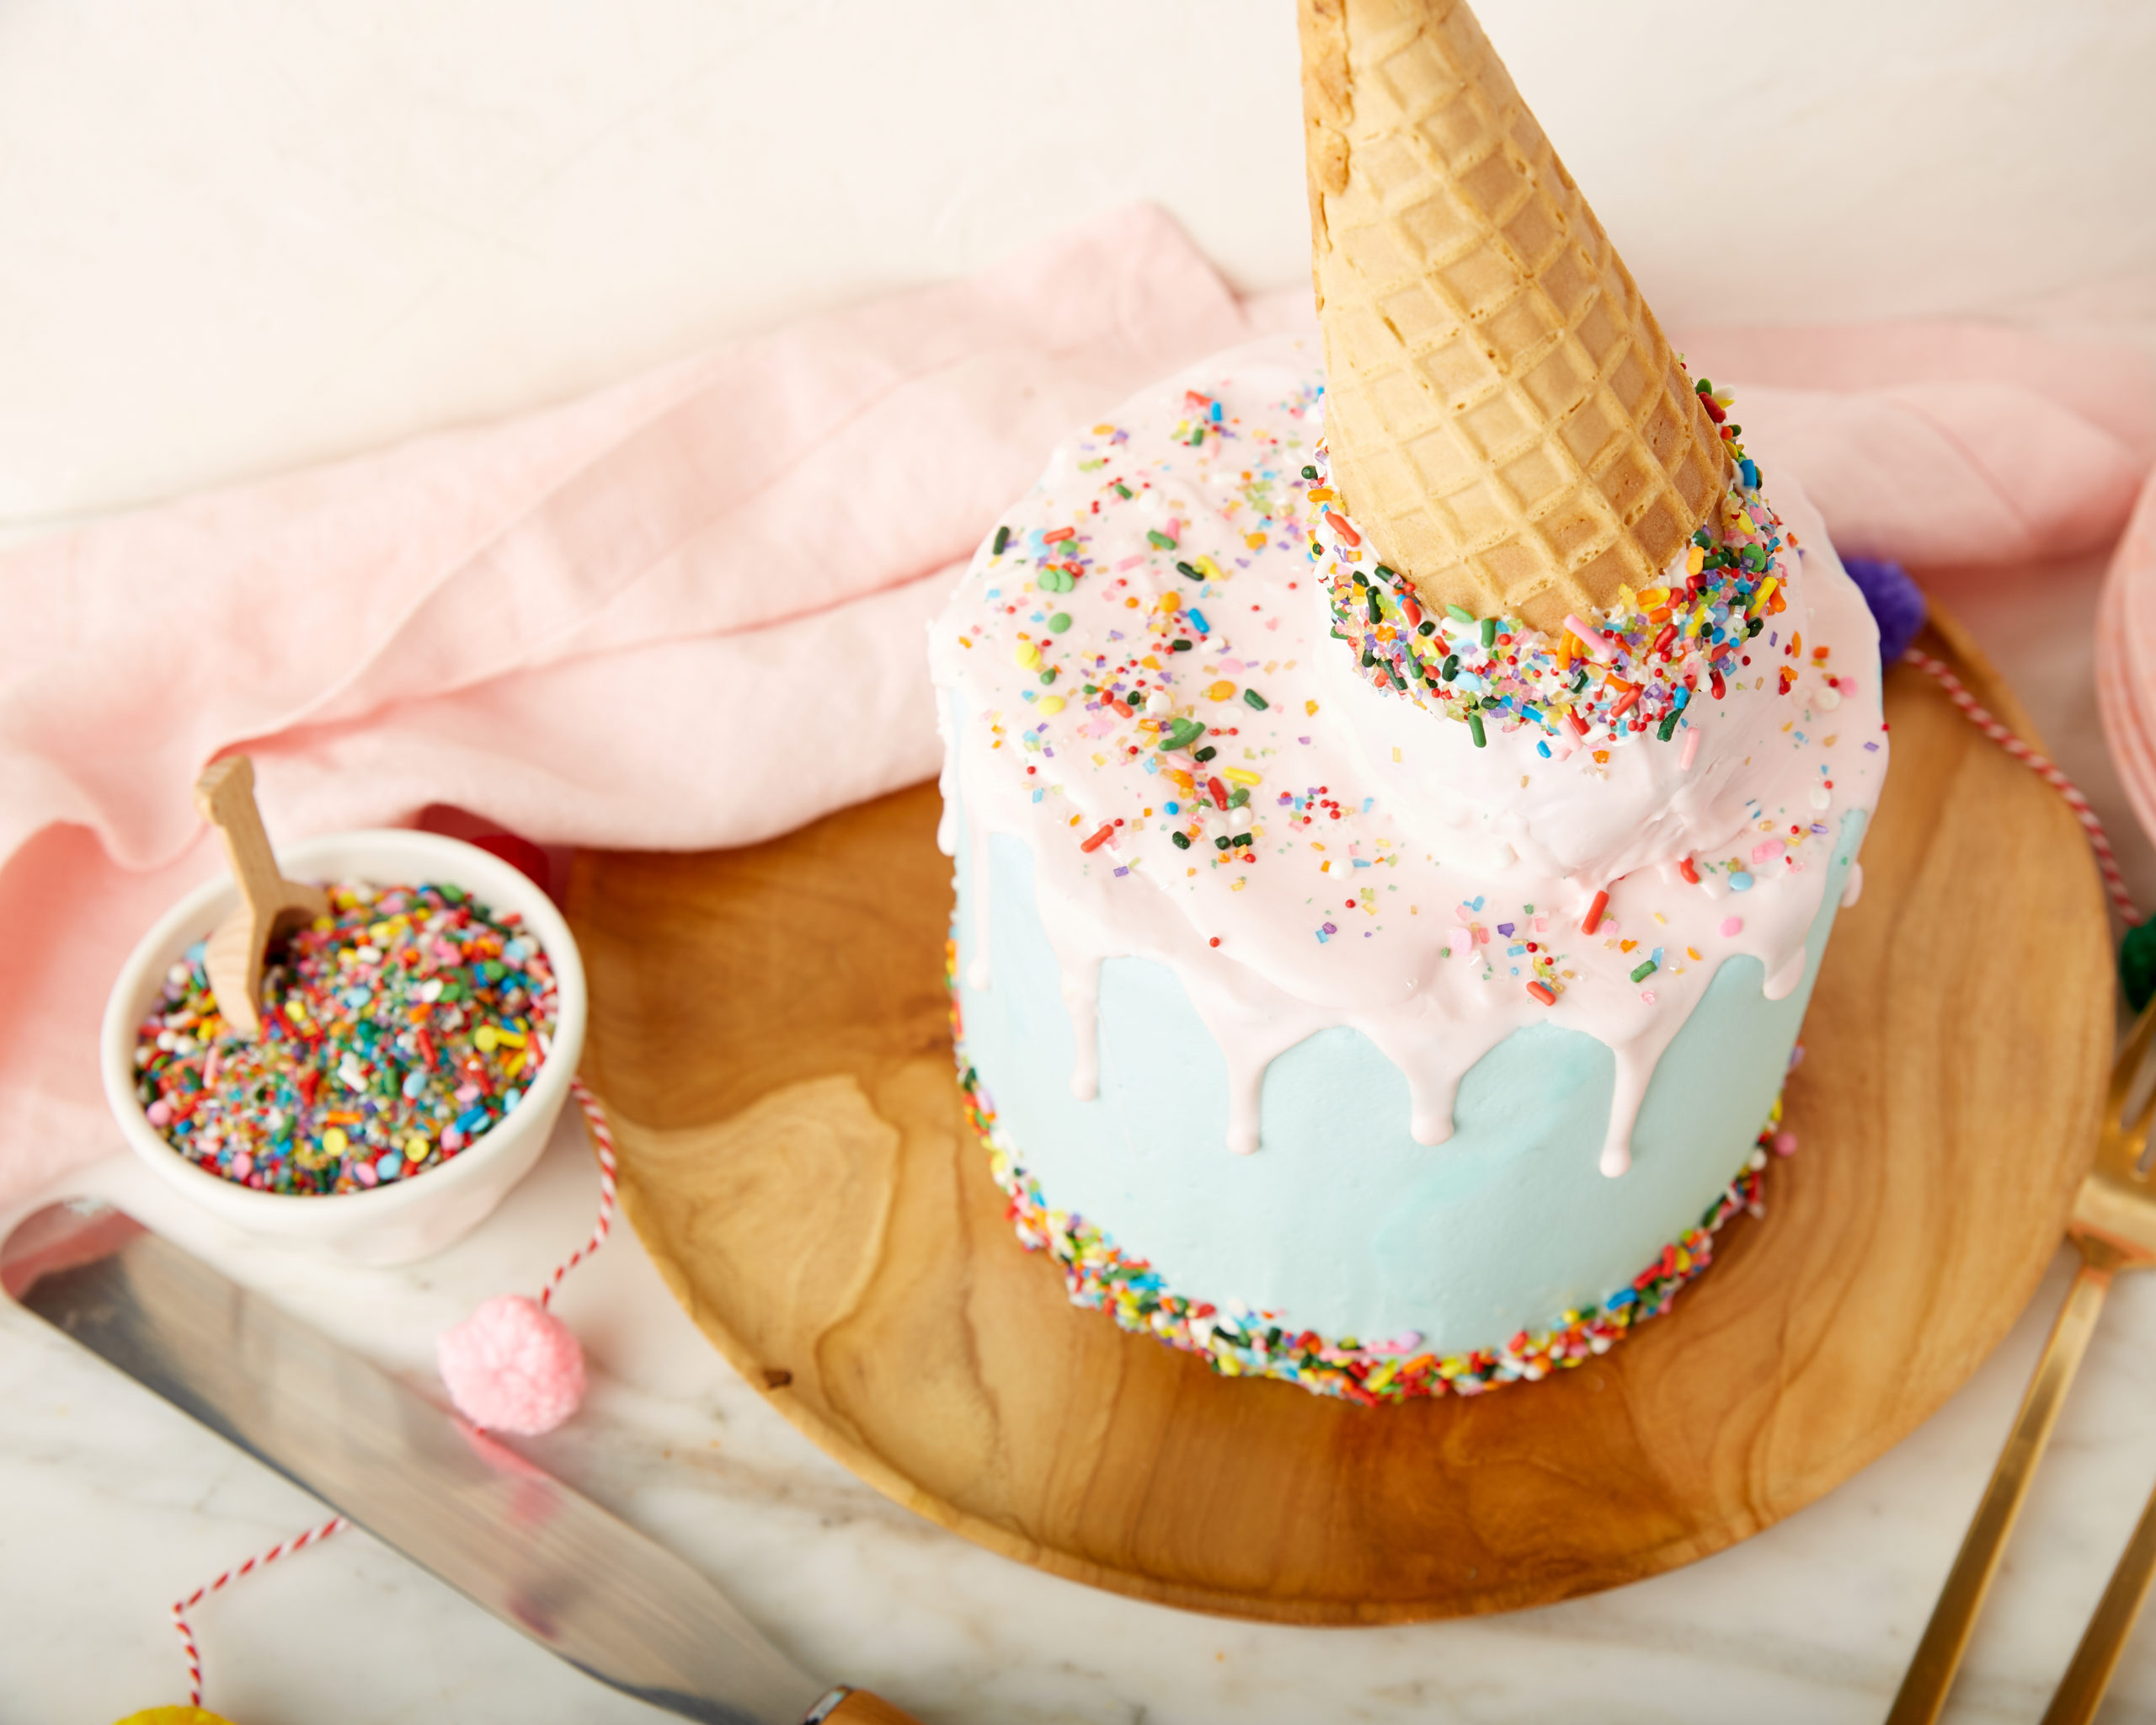
So, how’s it done? The ice cream scoop consists of a large cake ball, and candy melts create the dripping ice cream effect. Plus, we upped the ice cream factor for this three-tiered cake recipe, turning the cake’s layers into a Neapolitan trio of strawberry, vanilla, and chocolate.
The cake recipe involves several instructions, so if you’re looking for the overall effect without all the steps, consider these Joy-approved shortcuts:
In lieu of making the strawberry reduction in the recipe, use store-bought jam or any leftover homemade jam you already have at home.
Create only one flavor of cake instead of three.
Consider using pre-packaged cake mix in your favorite flavor.
Use only one color of buttercream frosting. We used blue for the outside of our cake and white for the inside, but you can switch it up however you like!
Save cone decorating for another day and opt for a bare Joy Cone for the top of your cake.
Shortcuts or no shortcuts, this labor of love is worth it once you see the final product come together. Have fun creating this cake in your favorite colors, using whatever shade of candy melts you like, your favorite color food dye in the frosting, and decorations on your cone to match your overall creation (see our “5 Ways to Dip Your Ice Cream Cones” blog post if you need some inspiration).
Add hulled strawberries and lemon juice to a saucepan over medium heat.
After the mixture heats up for a few minutes, mash the strawberries then simmer for about 10 minutes.
Using a mesh strainer, strain mixture into a bowl. Cover and chill strained strawberry reduction for 10-15 minutes. You’ll need about 2 tablespoons in all to add to your cake batter.
For the Cake:
Preheat oven to 350°.
In a large bowl, sift flour, sugar, baking soda, and baking powder together. Set aside.
In a medium bowl, mix butter, egg whites, sour cream, and milk.
Add dry mixture to wet mixture and stir until just combined.
Divide mixture into three bowls, eyeballing to ensure mix is evenly divided. Bowl No. 1 is complete, as it’s vanilla and you won’t add any other flavoring to it.
Add cocoa powder to bowl No. 2 and mix.
Add 2 tablespoons of chilled strawberry reduction, or store-bought or homemade jam, to bowl No. 3 and mix.
Transfer the three batters into three 6-inch buttered and floured cake pans.
Bake cakes for about 30 minutes or until the centers are springy to the touch. Allow the strawberry layer to bake 5-8 minutes longer. Test each with a toothpick, ensuring the toothpick comes out clean, meaning the cake is fully baked.
Level the cakes using a large serrated knife or cake leveling tool. They should have flat tops and bottoms for stacking. Transfer the cake scraps to a bowl and cover with plastic wrap. Reserve these for the “ice cream scoop” at the top of your fully assembled cake.
Place the three cake layers in the fridge, allowing at least 1 hour for them to chill before assembling the cake.
For the Buttercream:
Whip the butter for about 5 minutes. Here’s where having an electric mixer with a paddle attachment can come in handy, but if you don’t have access to one, it comes together by hand just as well.
Slowly beat in powdered sugar until fully incorporated.
Add the cream and vanilla. Beat until you have an even, fluffy consistency.
Add a few drops of food coloring and mix together until desired consistency and color. If you decide on different colors for the inside and outside of the cake, reserve about a ½ cup to spread between the cake’s layers, ¼ cup for the “ice cream scoop” cake ball that will sit atop your cake (buttercream will not be visible here because you’ll eventually cover the scoop with candy melts), and the rest for the outside of the cake, dyeing the frosting batches your preferred colors.
For the Assembly:
Smear a dab of buttercream on your 6-inch cake pad to keep your cake from sliding. On a cake stand or Lazy Susan, place the chocolate cake on the cake pad, then cover the top with an even layer of buttercream using a cake spatula or bench scraper. Repeat steps with the vanilla cake, then strawberry cake, creating your three-tiered cake with buttercream between layers.
Use the remaining buttercream to cover the entirety of the outside of the cake, creating smooth, even sides. You could use a bench scraper and Lazy Susan, but if you don’t have those items, you can make do with a large spatula instead, turning the cake around as you smooth buttercream over it.
Using your hand, dab sprinkles along the base of your cake.
Chill cake in the refrigerator for at least 1 hour.
Combine the cake scraps and reserved ¼ cup of buttercream in a bowl and shape into a ball the size of a large scoop of ice cream.
Insert the lollipop stick into the middle of the cake ball, making sure not to puncture the other end of the cake ball. Then insert the other end of the stick into desired location at the top of your cake, ensuring the cake ball and top of cake meet.
Melt your candy melts in a medium-sized microwave-safe bowl according to package instructions, being careful not to overheat. Dip the rim of your ice cream cone in the candy melts and cover the dipped rim in sprinkles. Set cone aside to dry.
Add 2 tablespoons of oil to remaining candy melts and stir until smooth. It should be runny. You can add a little more oil, if needed. Pour melted candy melts over the cake ball and stick the cone on top. Working quickly, drizzle sides of cake, then cover the cake’s top.
Decorate the top of the cake and a portion of your “ice cream scoop” with sprinkles to finish it all off.
Seeing your ice cream cone creations brings us Joy. Tag us on Facebook and Instagram at @JoyConeCo, or hashtag #BringJoyHome, and you could see your homemade recipes featured on our social media pages!


Recent Comments