

We use cookies to improve your experience when using our site. For example, cookies will help us remember you and will assist us in showing you content we think you'll be interested in. To find out more, read our Privacy Policy
To apply for careers, cookies are necessary for the applications to run properly. Please accept cookies for processing your information. Rest assured, your information will not be shared.
By clicking "OK", you consent to our use of cookies
Of all the sights, smells, and flavors of this festive time of year, nothing says, “It’s the holidays!” quite like the cool, sweet taste of peppermint.
Since the debut of the candy cane in 1874, peppermint has been associated with this wonderful time of year. But what’s so special about peppermint and why is it considered the flavor of the holidays? It’s because peppermint gives your mouth a cooling sensation and, since the holidays take place during the winter, peppermint has become associated with the feeling of ice and snow.
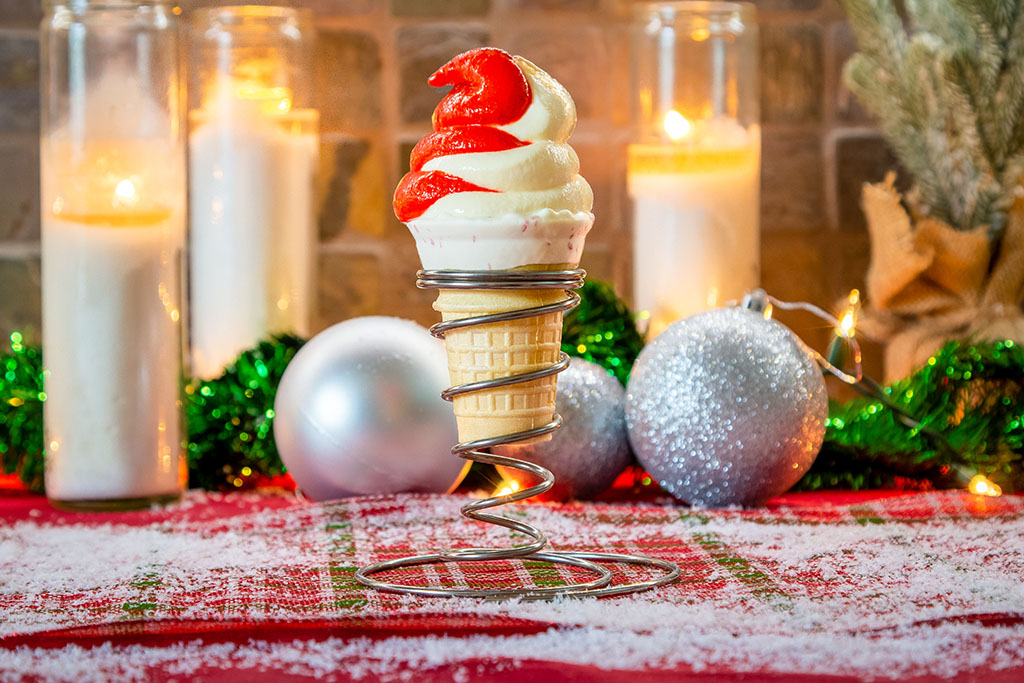
Besides candy canes, there are several traditional peppermint treats, like peppermint bark; however, this year, Joy Cone is starting a new tradition. Thanks to Joy Cone’s Peppermint-Dipped Cones, it’s easy to add the taste of peppermint to your favorite ice cream … even vanilla … in what’s bound to be the “coolest” treats of the season!
What you’ll need:
Directions:
Remove ice cream from freezer to begin thawing, about 30 minutes.
Once ice cream is soft, not melted, add 4 cups ice cream to mixing bowl and beat on high for one minute until airy. Remove half of ice cream and place in zip top plastic bag.
In the bowl with the remaining ice cream, add 3 drops of red food coloring gel and carefully mix until fully incorporated. Add more drops, as necessary, to achieve the desired redness. Remove the red ice cream and scoop into a separate zip top plastic bag. Place into freezer until ice cream has set, about 30 minutes.
Once ice cream has solidified into a soft-serve consistency, remove bags from freezer. Place a single JOY Peppermint Dipped Cone on a flat surface. On both bags of ice cream, zip almost completely, leaving a bit of room for air to escape. Begin twisting bag until ice cream is in a single corner.
Carefully, with scissors, cut a small snip off of the corner of the bag so that ice cream can be piped into cones. (As always, scissors should be kept out of the reach of small children.)
With both bags snipped, hold one bag in your left hand and one bag in your right hands with the tips almost touching. In a clockwise motion, begin turning the bags while applying equal pressure on both bags to begin distributing the soft-serve ice cream. Keep circulating and lifting the bags and distributing until the desired amount of ice cream has been added.
Enjoy immediately.
Top
Recent Comments