

We use cookies to improve your experience when using our site. For example, cookies will help us remember you and will assist us in showing you content we think you'll be interested in. To find out more, read our Privacy Policy
To apply for careers, cookies are necessary for the applications to run properly. Please accept cookies for processing your information. Rest assured, your information will not be shared.
By clicking "OK", you consent to our use of cookies
Maybe you have one in your family — a child with an obsession with all things nature or a love for collecting objects found in the wild. If that description sounds familiar, you might have a budding natural scientist on your hands.
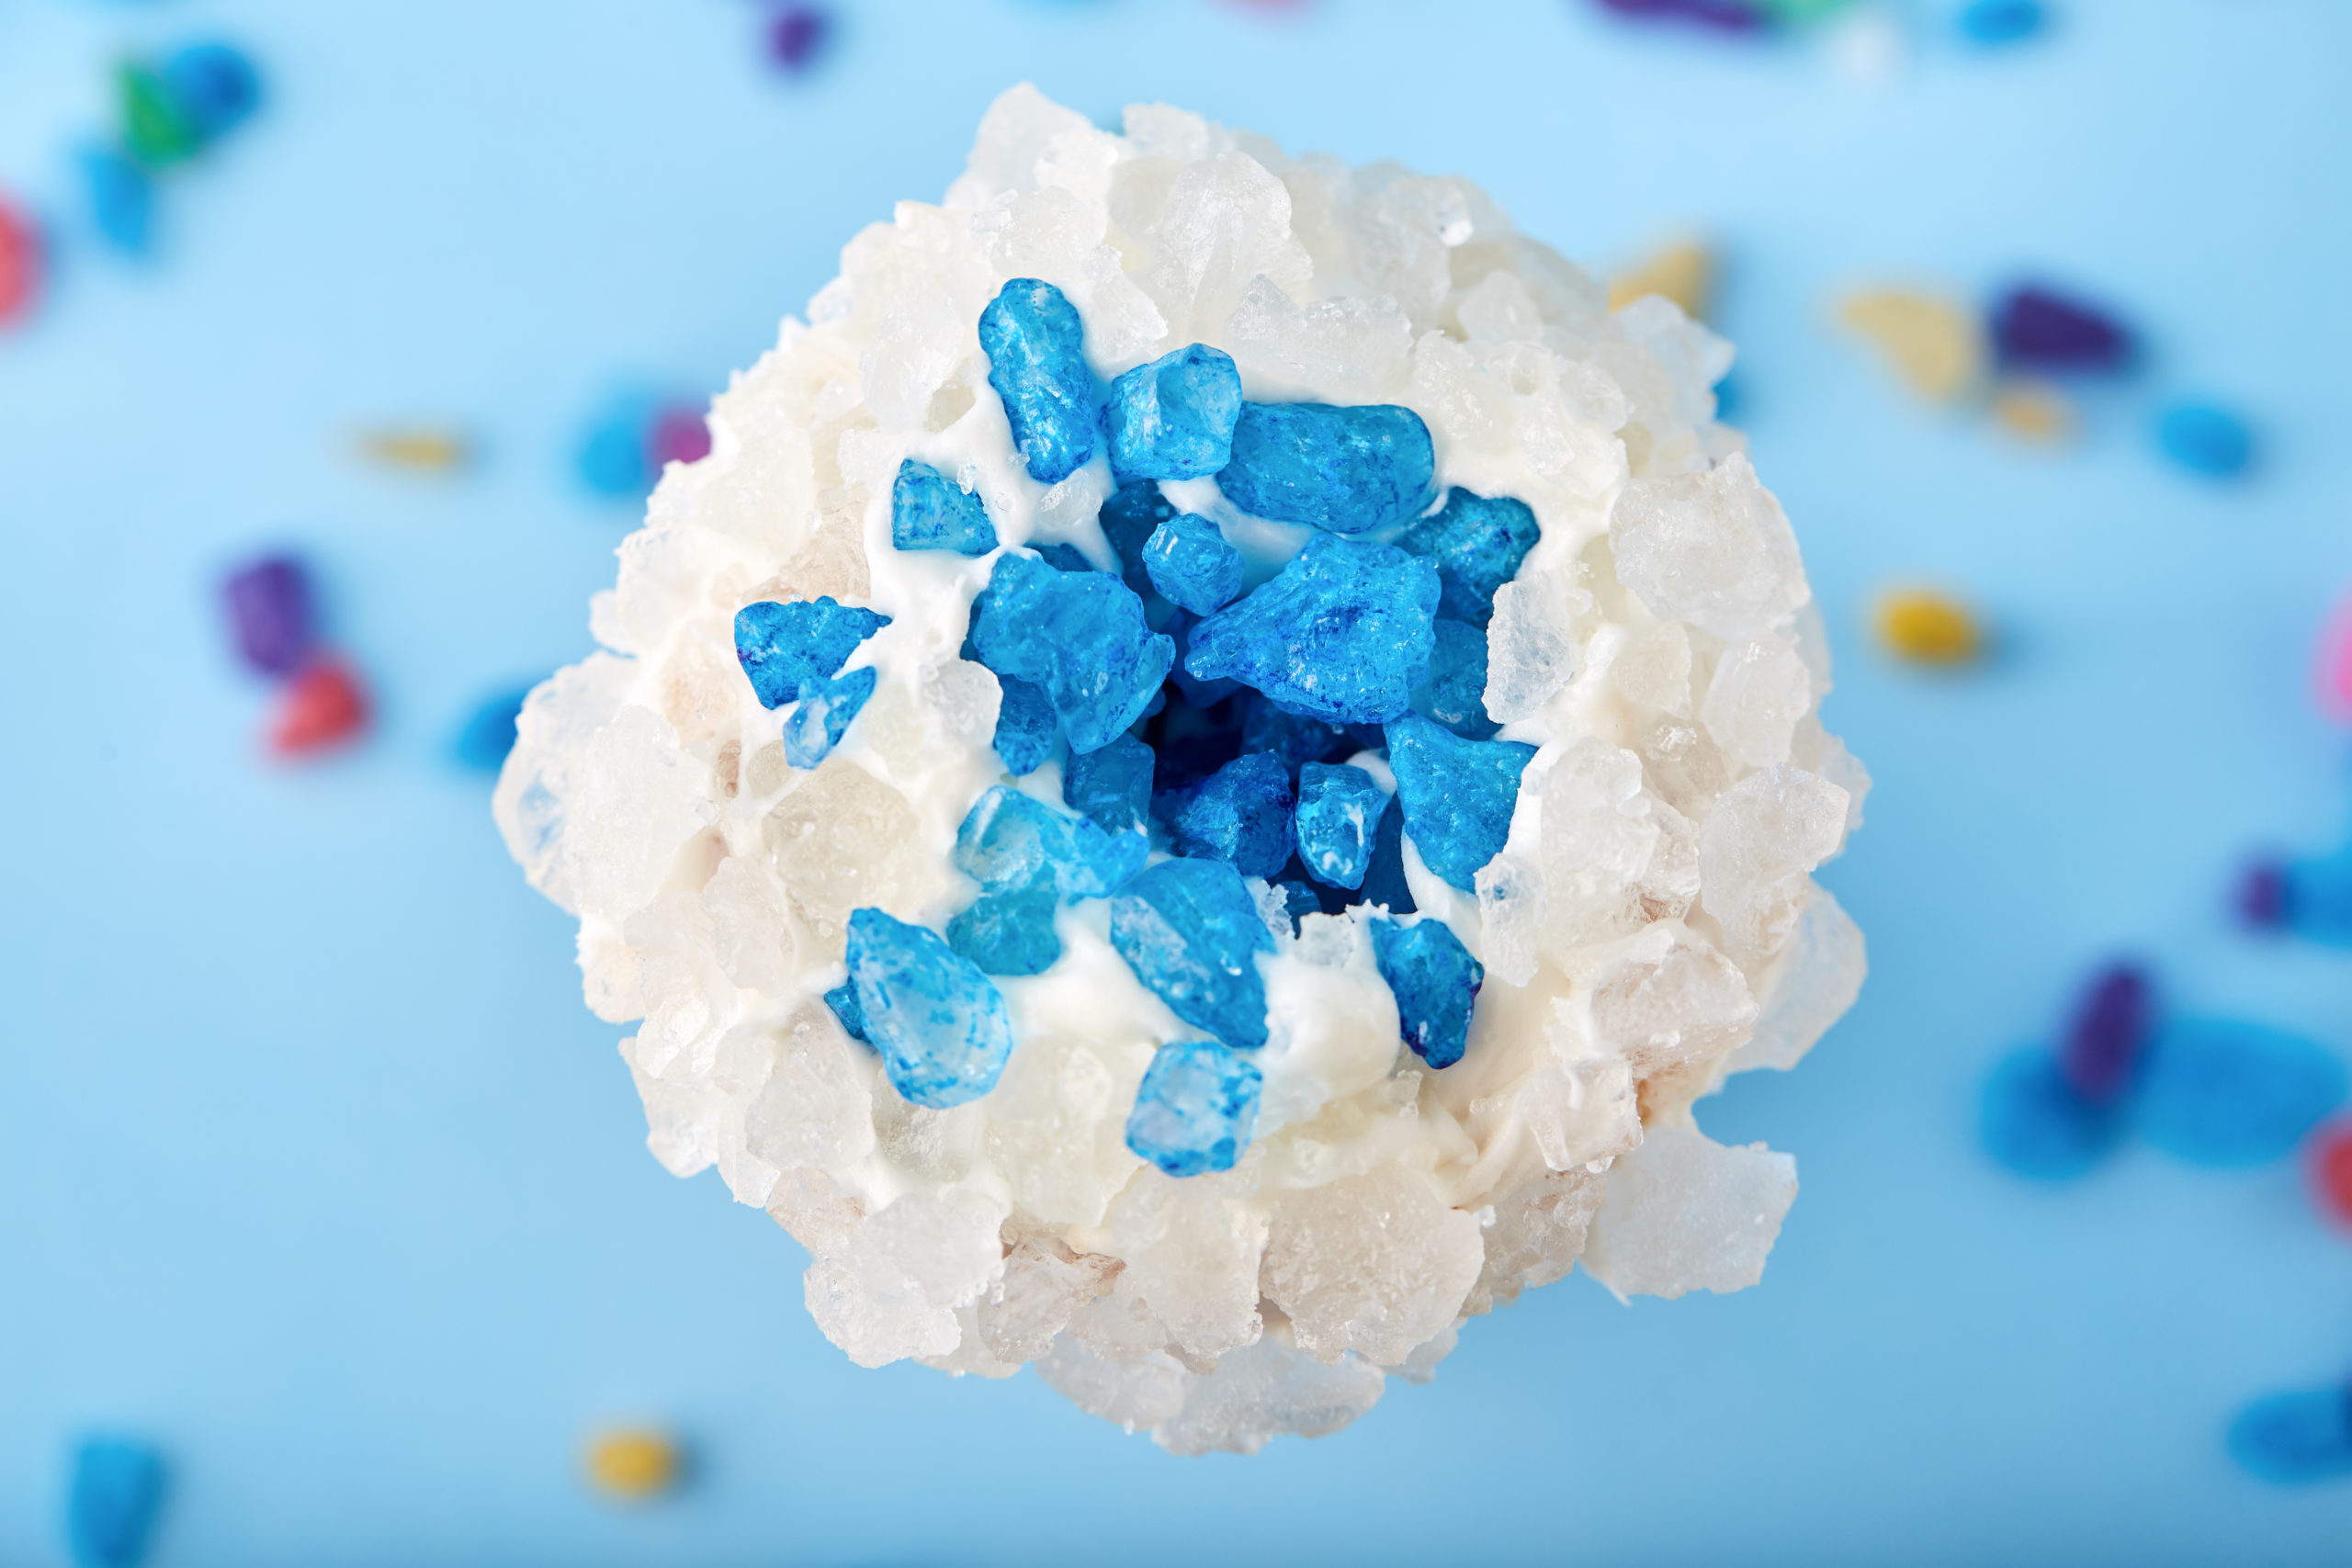
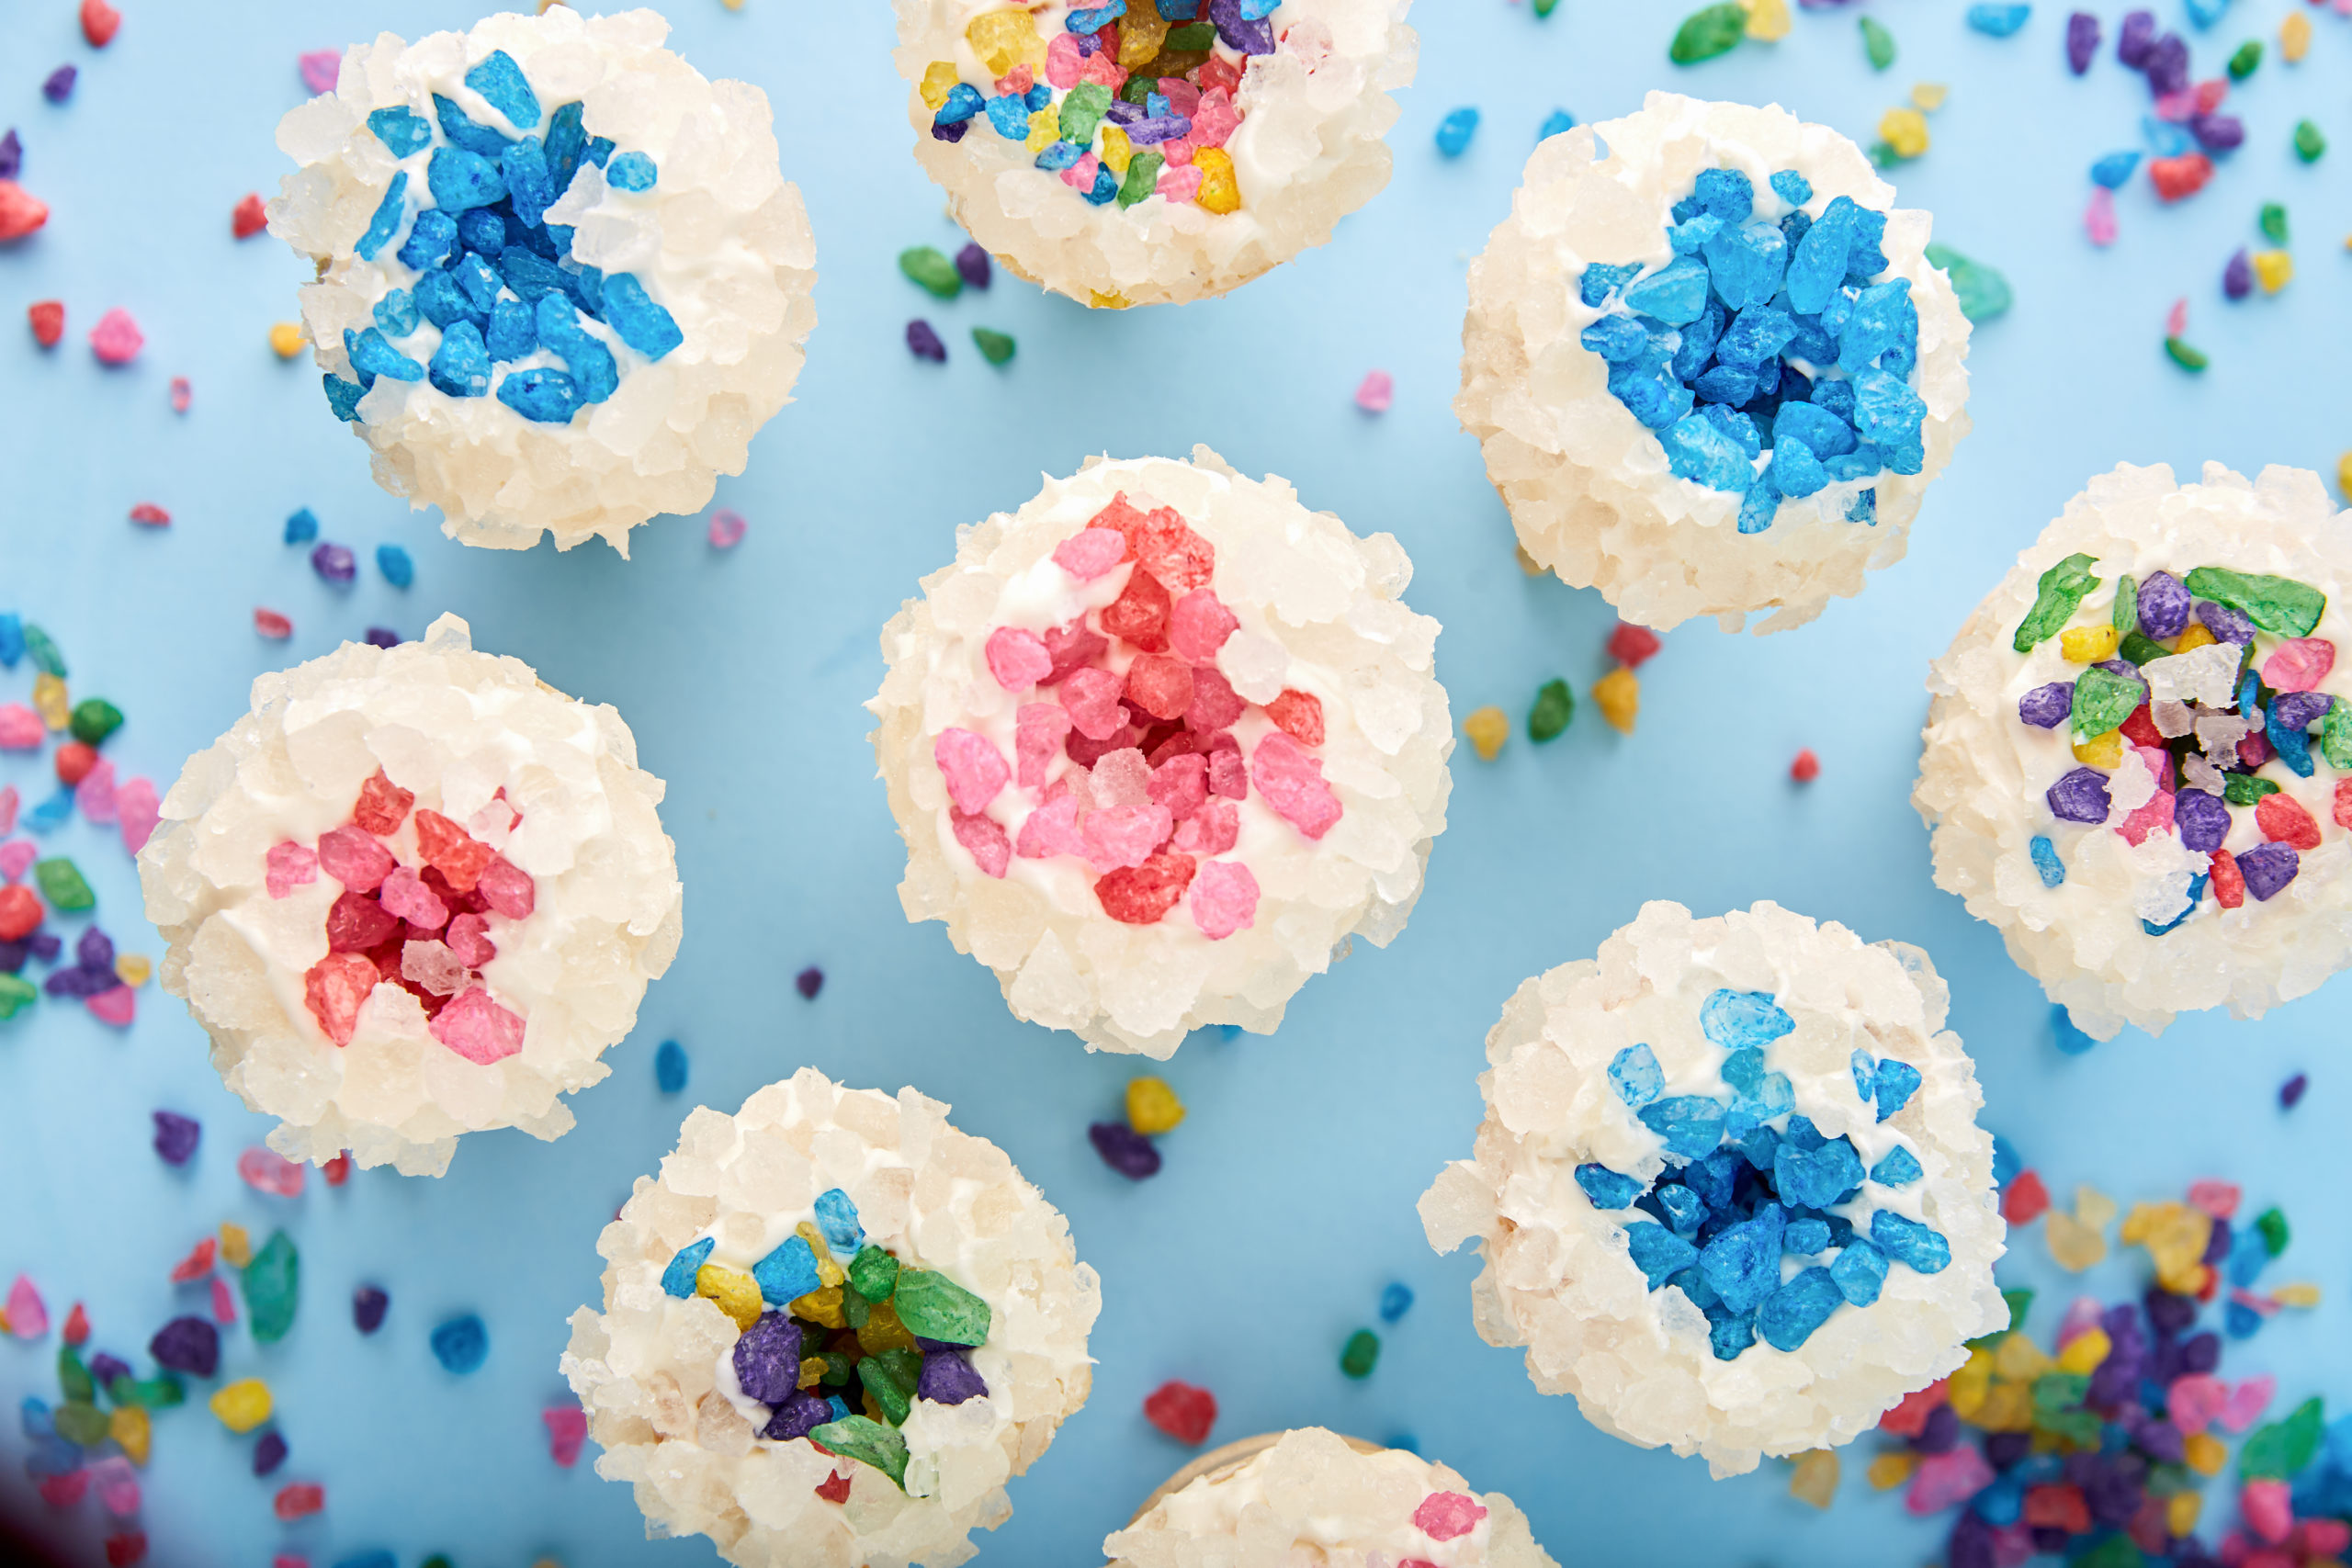
Natural science and the shimmering beauty of geodes, or rocks lined with crystals and other mineral matter, spurred us to create our own geode-inspired ice cream cones. Using colorful rock candy, white frosting, cake mix, and Joy Cake Cups, we designed portable works of art reminiscent of blue celestite crystal clusters, pink quartz geodes, and rainbow crystal geodes.
These hand-held creations are sure to fascinate your budding geologists, rock or gem collectors, paleobotanists, and archaeologists, as well as kiddos who just love a beautiful dessert or interesting craft project.
You can even double up on the education aspect of this one by picking up some crack-your-own geodes from your local toy or craft store, perusing the gift shops of your state or regional natural history museum for geode mementos, finding geode-related lessons online, or mining your local plant shops for these earthy decorations.
Chalk it up to our affinity for all things colorful, shimmering, and Joyful, but we think these geode cones will be a hit with families looking to work a little natural science and history into the mix.

Discover other ways ice cream cones can transform into unexpected desserts with these posts from the Joy blog:
Want the scoop on everything Joy? Sign up for our e-newsletter for all the latest news and discounts! Help us spread the Joy — follow us on Facebook or on Instagram at @joyconeco.
Top
Recent Comments