

We use cookies to improve your experience when using our site. For example, cookies will help us remember you and will assist us in showing you content we think you'll be interested in. To find out more, read our Privacy Policy
To apply for careers, cookies are necessary for the applications to run properly. Please accept cookies for processing your information. Rest assured, your information will not be shared.
By clicking "OK", you consent to our use of cookies
In most of the country, winter is in full swing. And while many of us dream of warm, summer days, kids find quite a few perks in cold, snowy weather, and making and throwing snowballs are high on every kids’ list of fun winter activities.
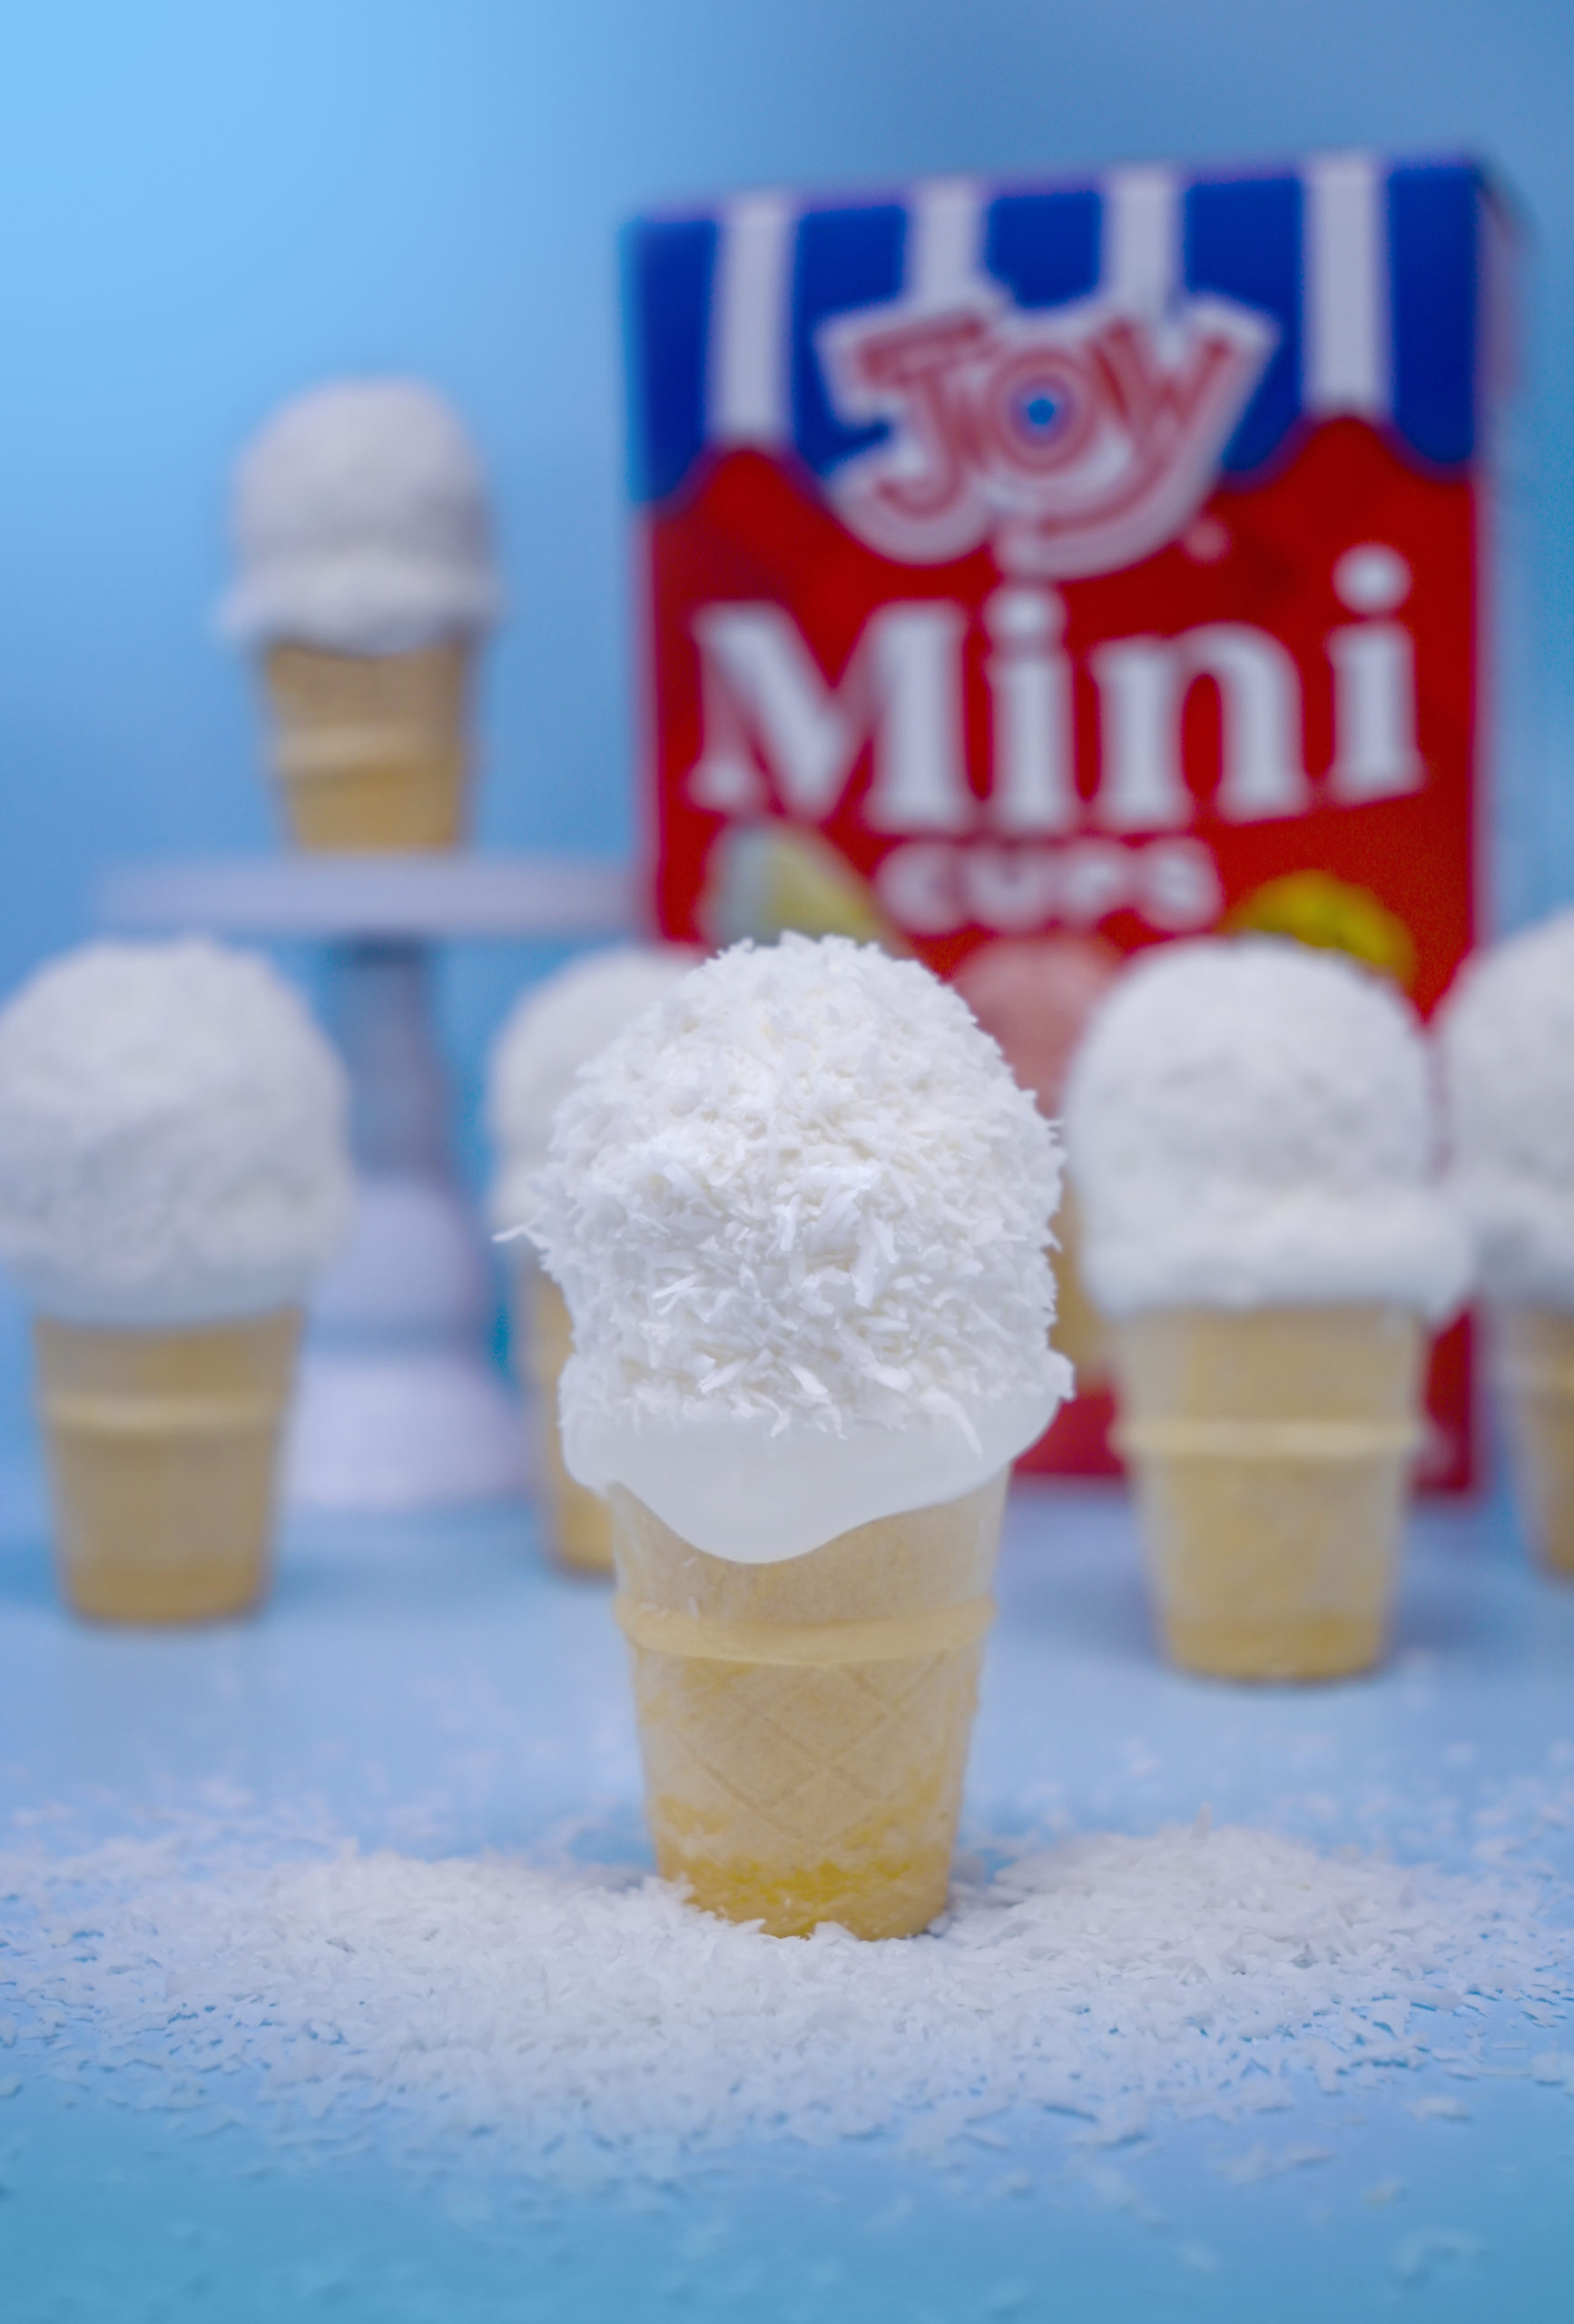
We at Joy Cone have come up with a way to up the snowball fun-factor and our way is just as enjoyable in areas where it’s too warm for snow. Instead of making and throwing snowballs, we suggest making and eating them.
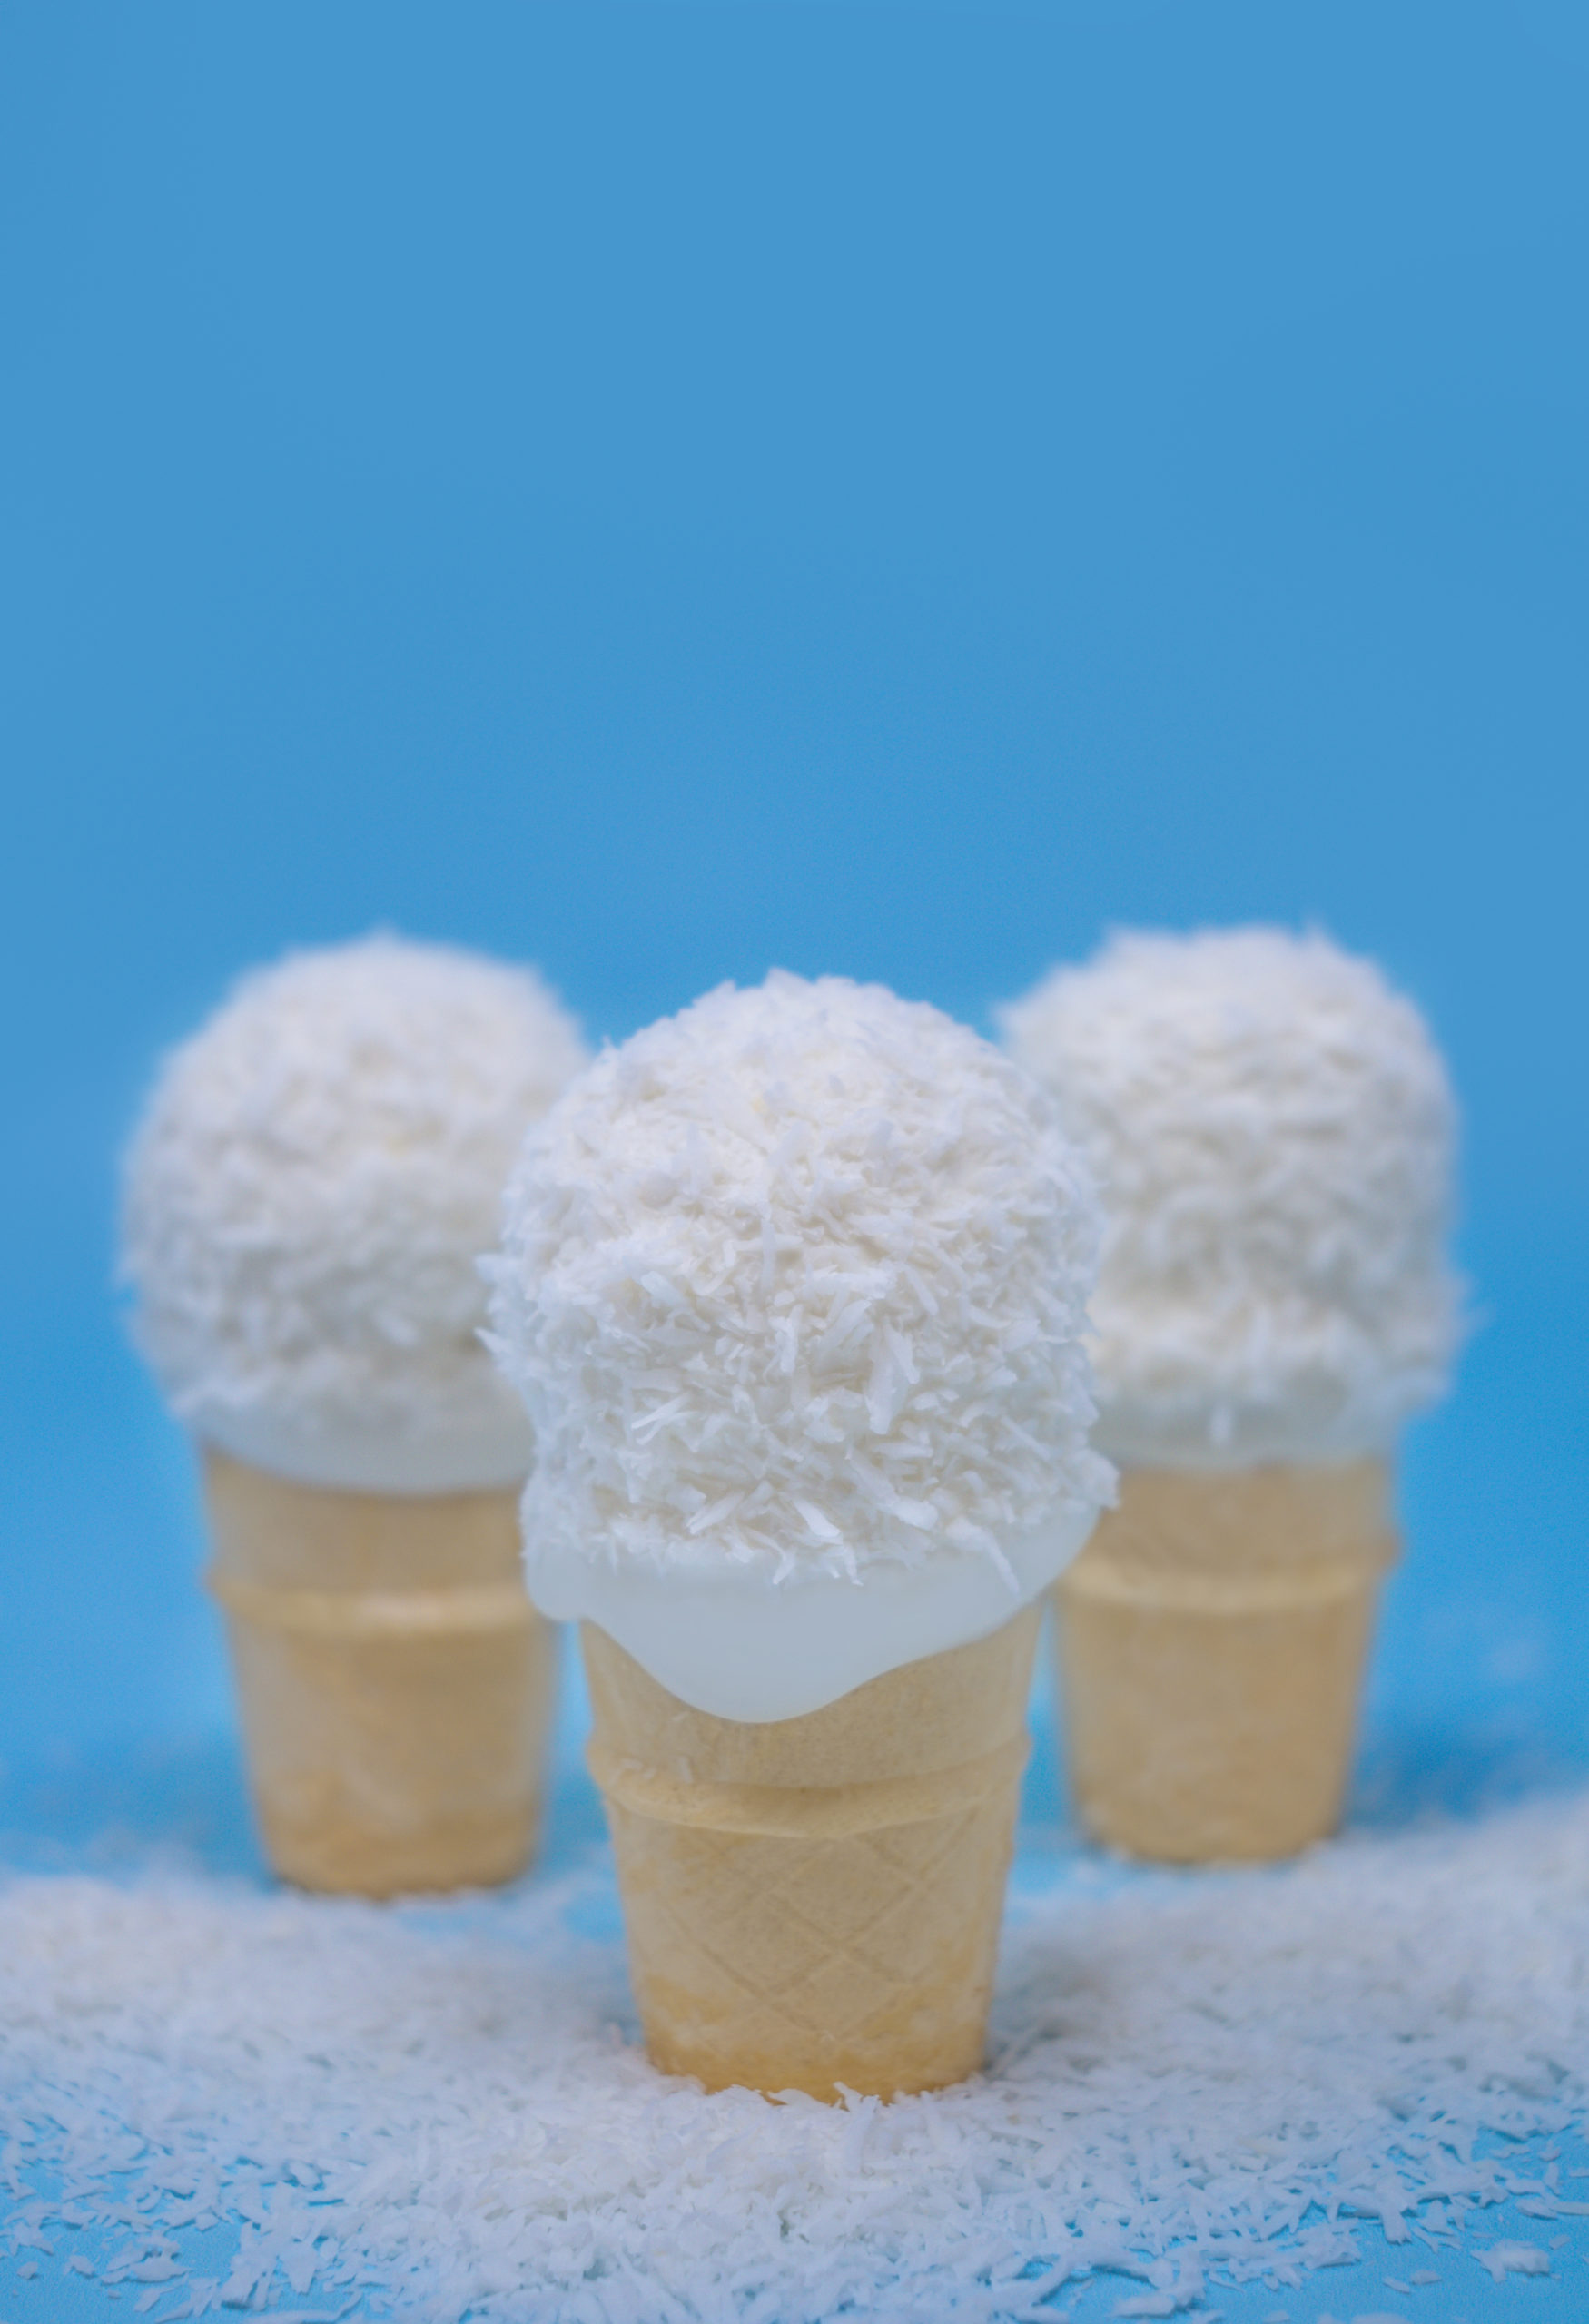
Of course, Joy Cone Snowball Cake-Pop Cones aren’t ordinary snowballs. They’re sweet, coconutty treats that are more fun … and more delicious … than the cold, wet, outdoor variety of snowballs, and the only snowball fight you may find yourself involved in is when it’s time to see who gets the last one.
Recipe and photos by Candice of @CelebrationDayStudio
What you’ll need:
What to do:
STEP 1: Make the cake – Preheat the oven to 350° and make the cake according to the directions on the box. Bake and let cool completely.
 STEP 2: Make the cake-pop filling – In a large mixing bowl, crumble the cake. Add about ½ can of frosting and mix until well combined. Fill your cake cones (about 10-15 cones) with the mixture and set aside. With the remaining mixture, roll into 1-inch balls and place on a baking sheet lined with parchment paper. Refrigerate the prepared balls for 1-2 hours.
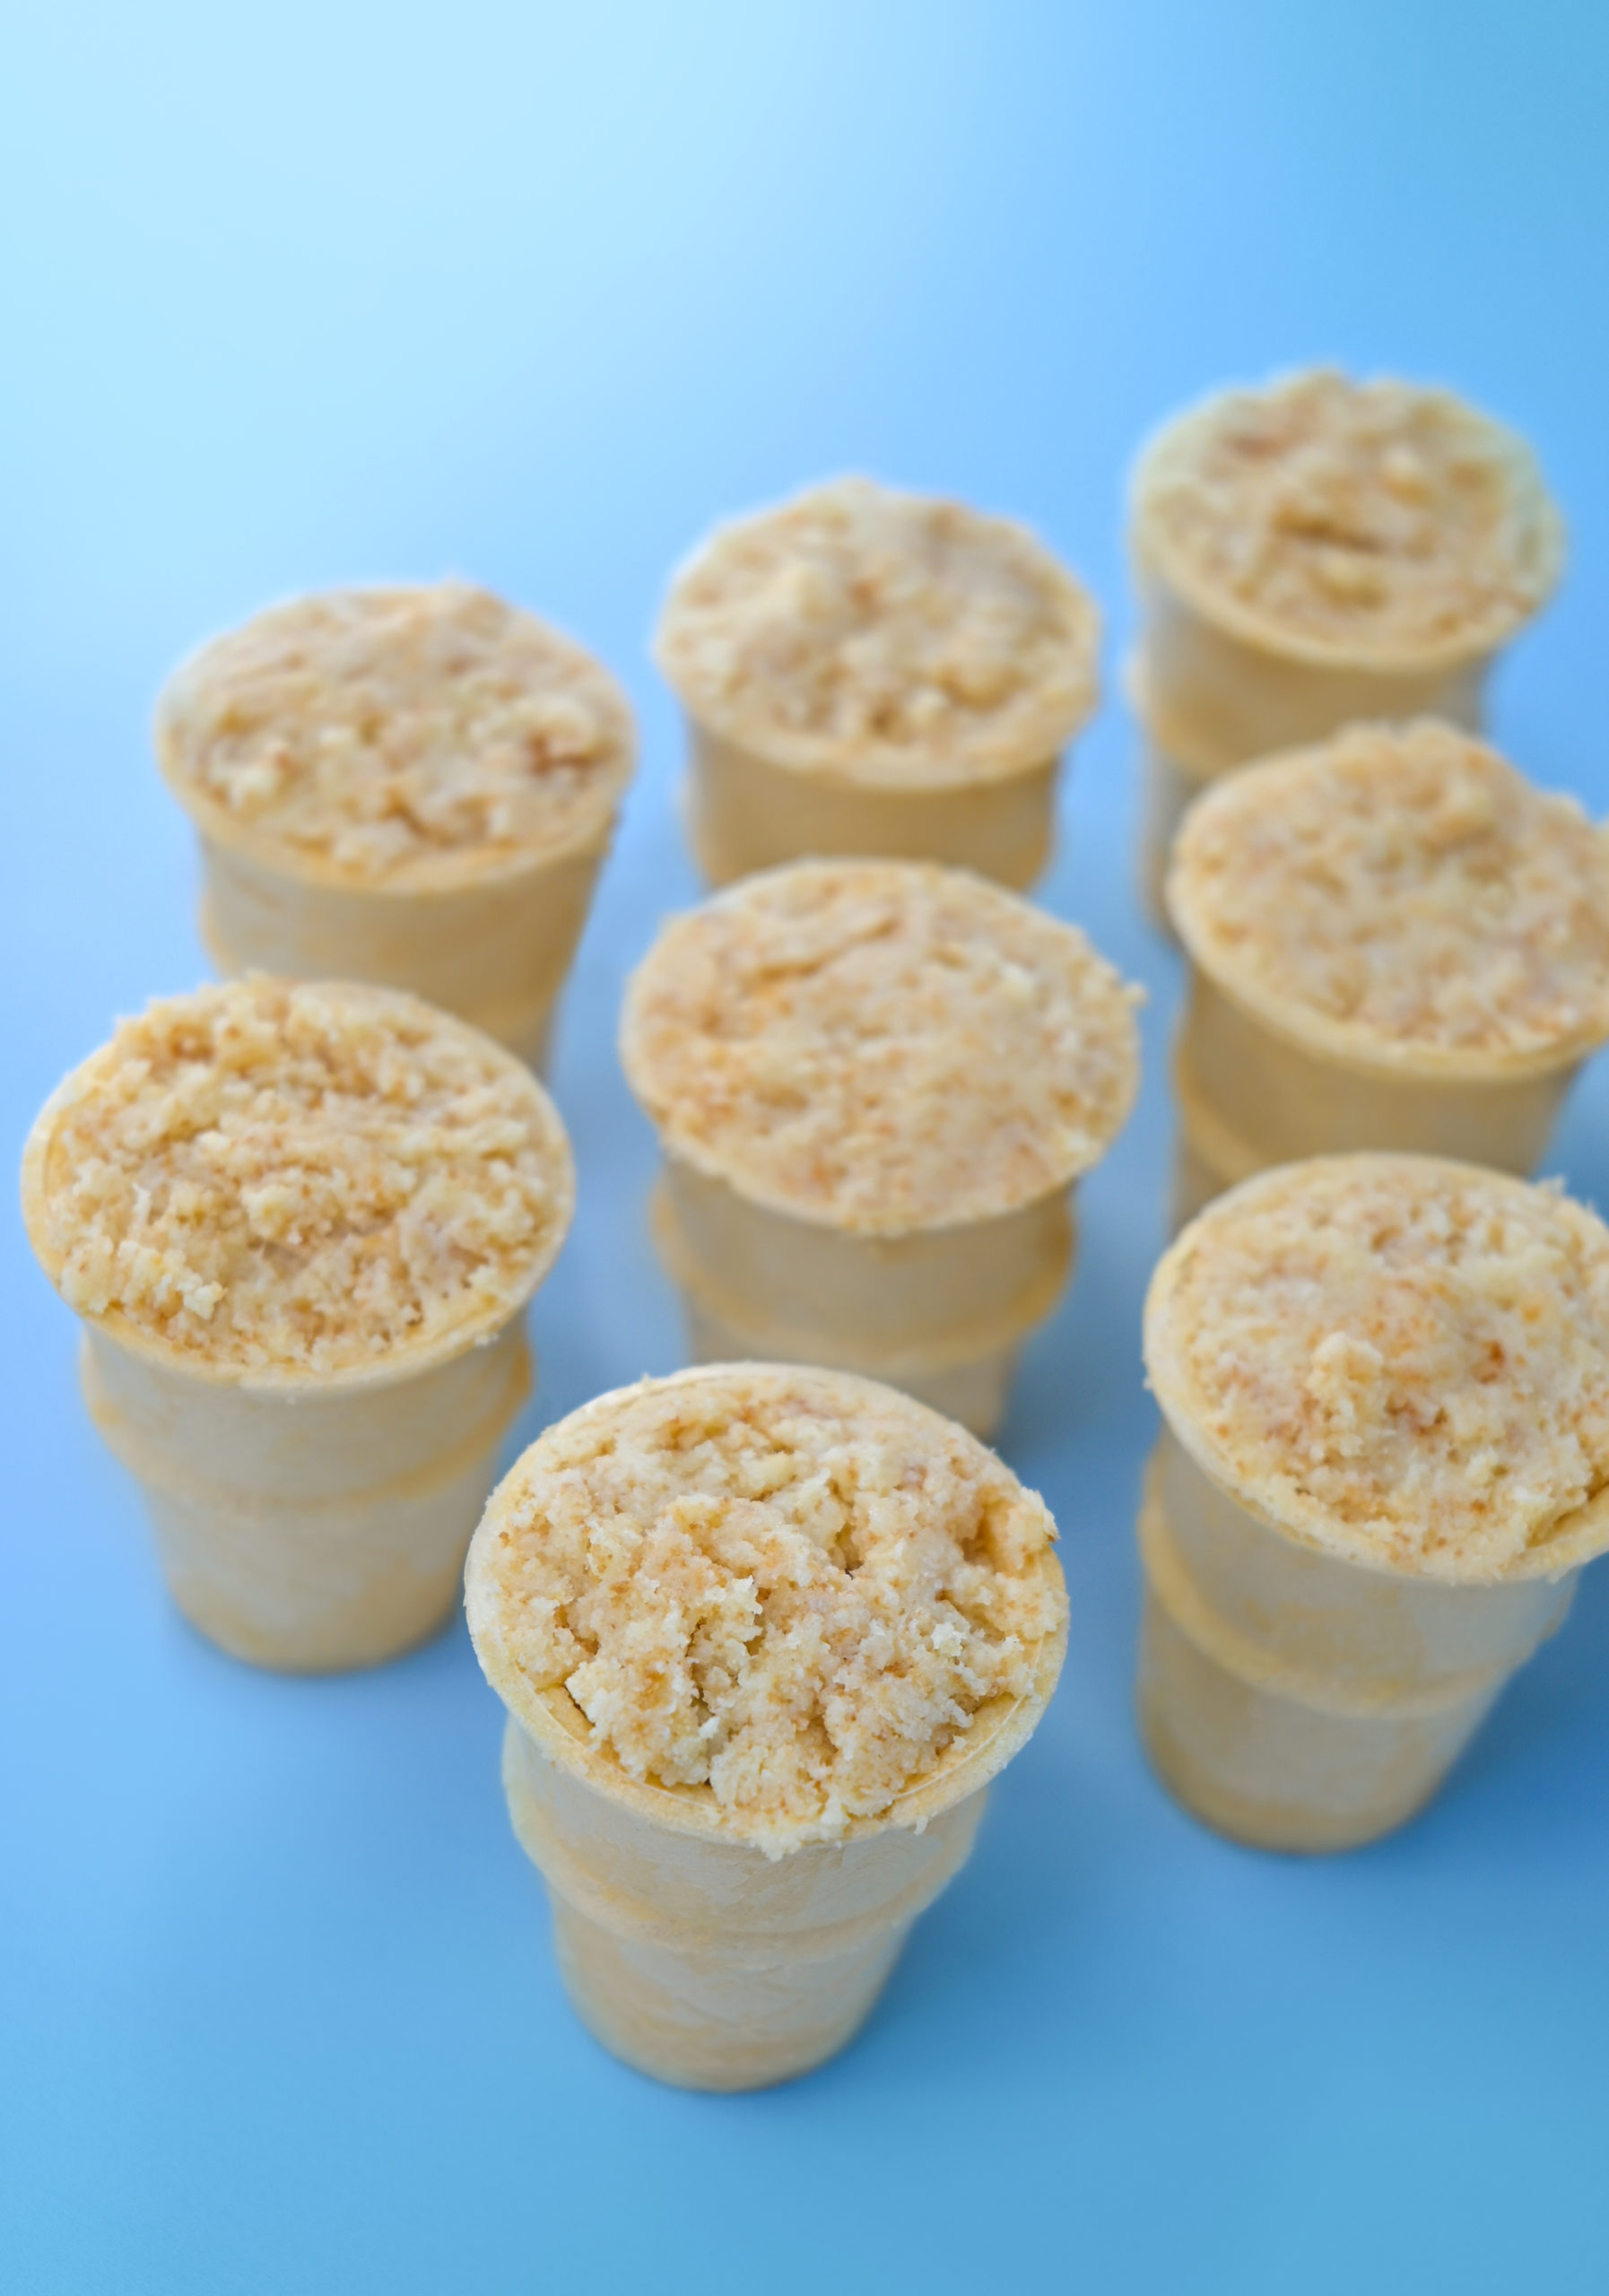
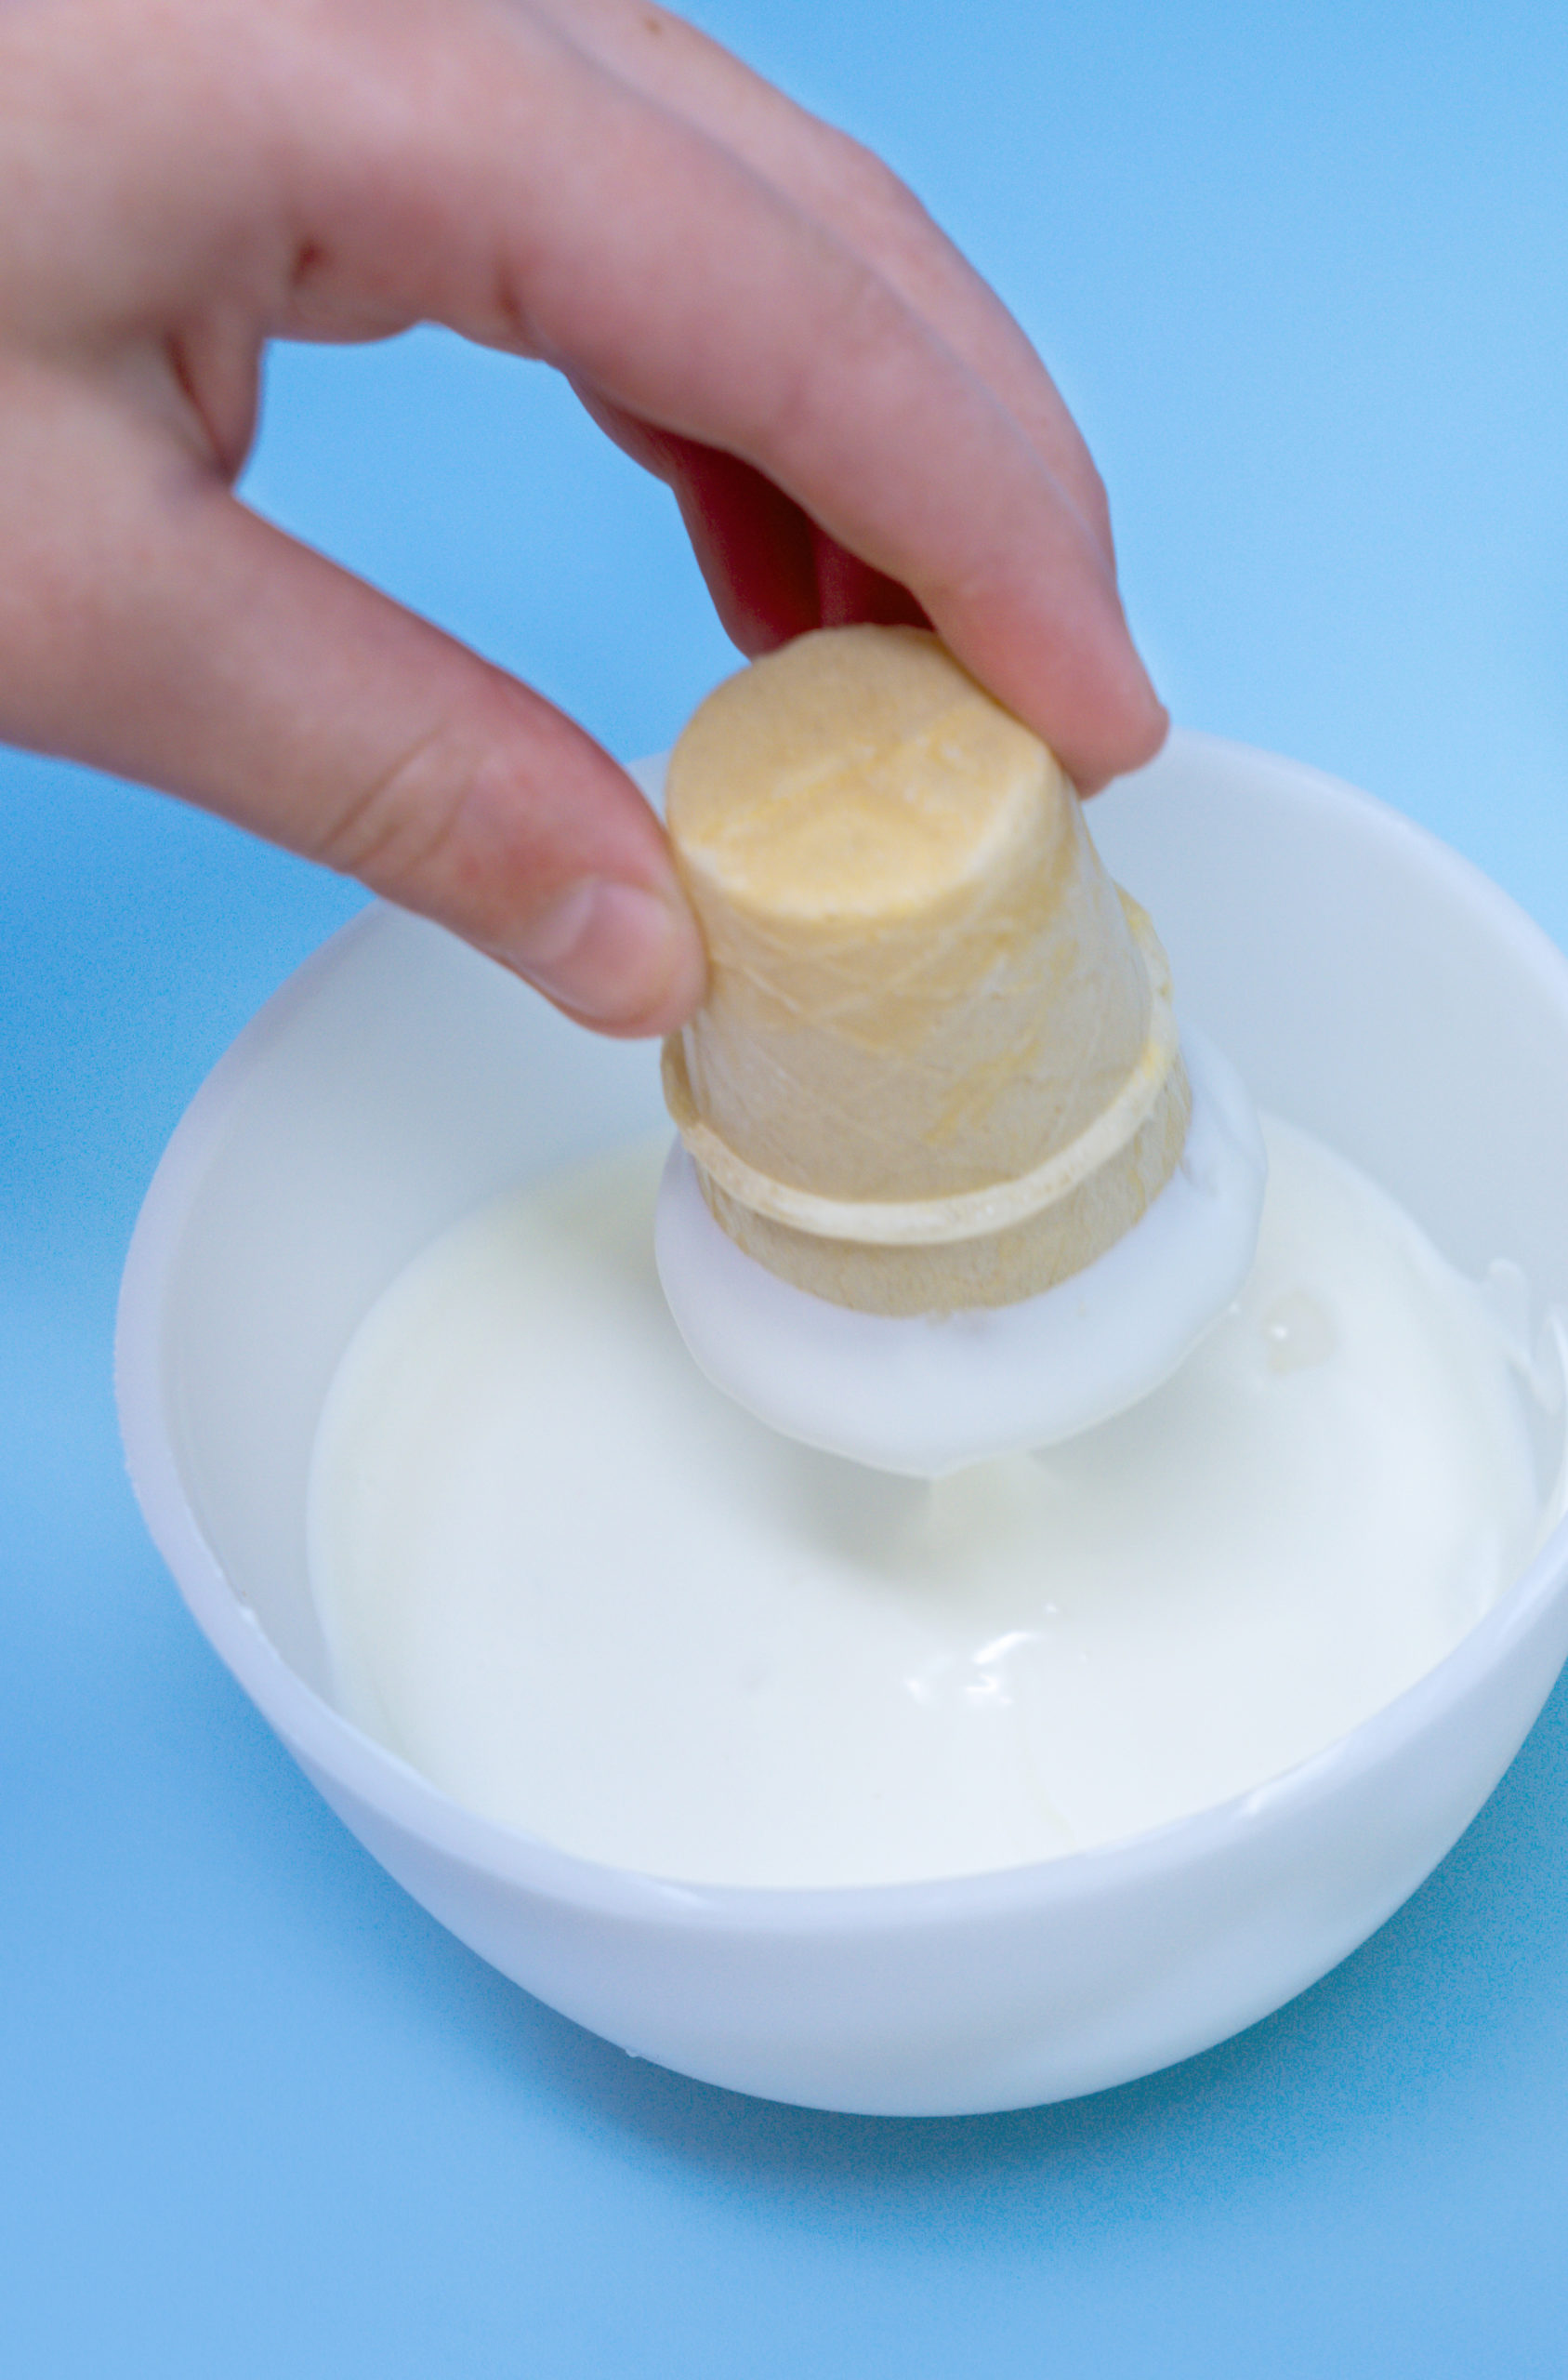
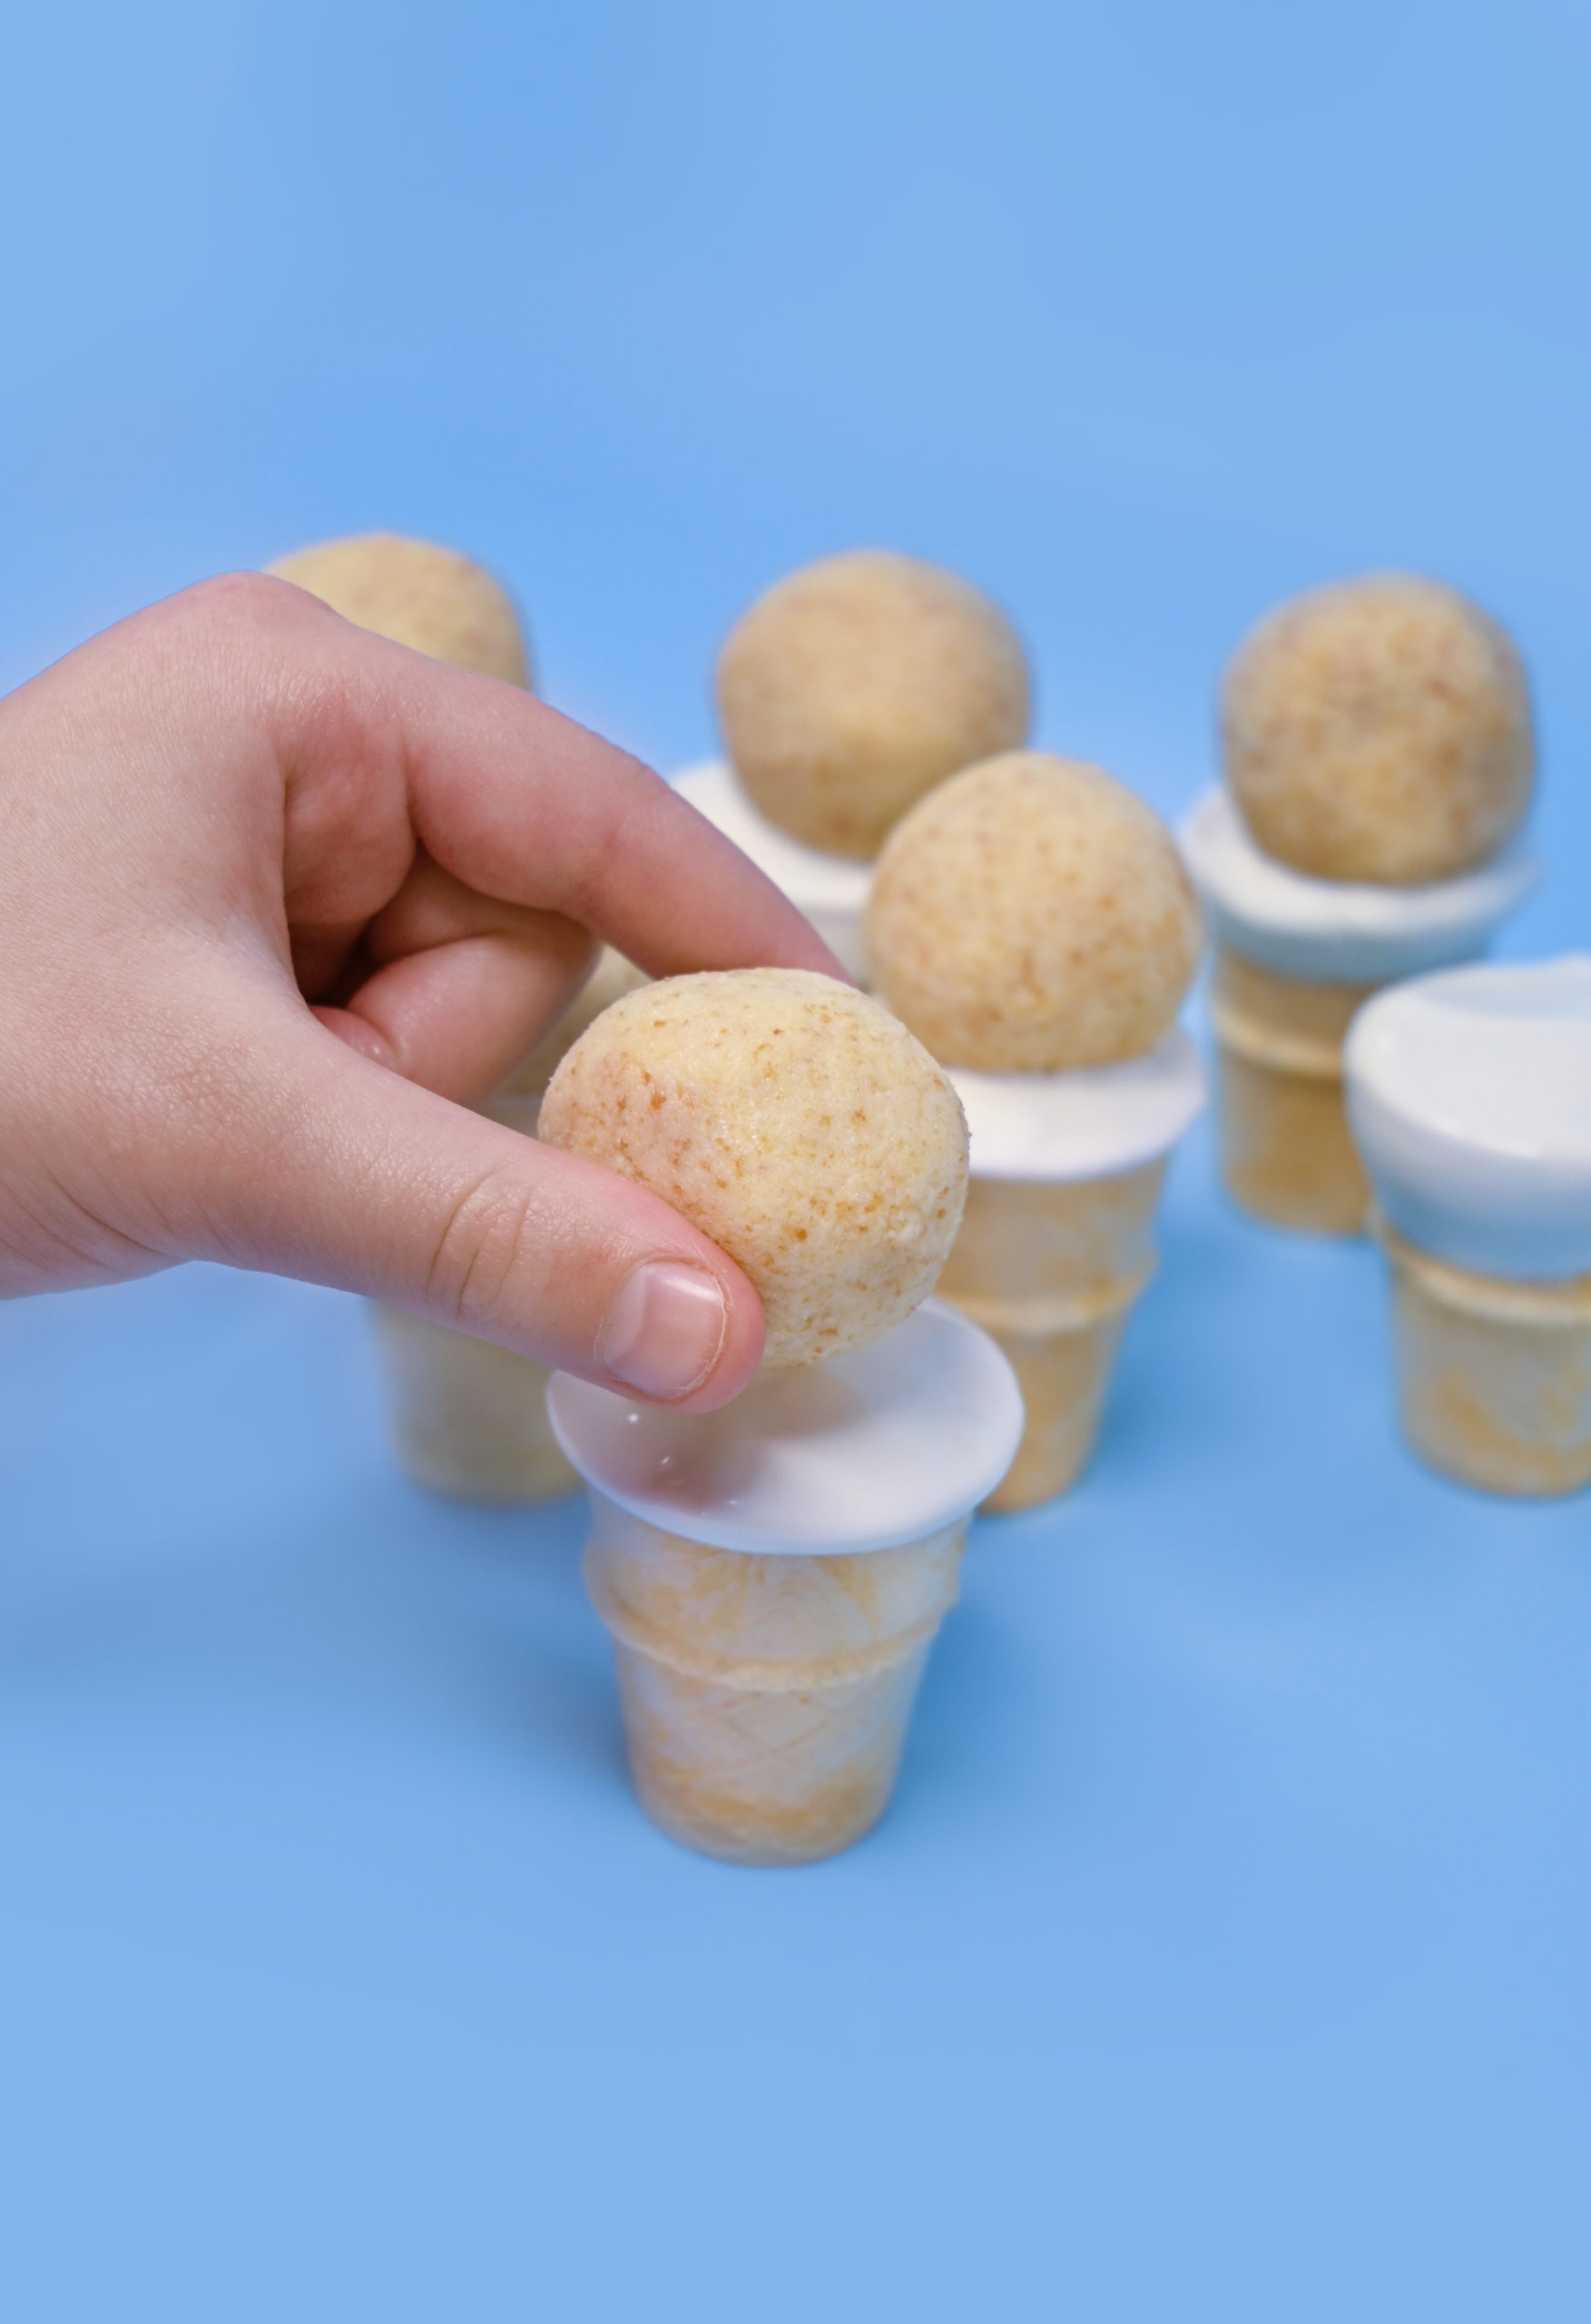
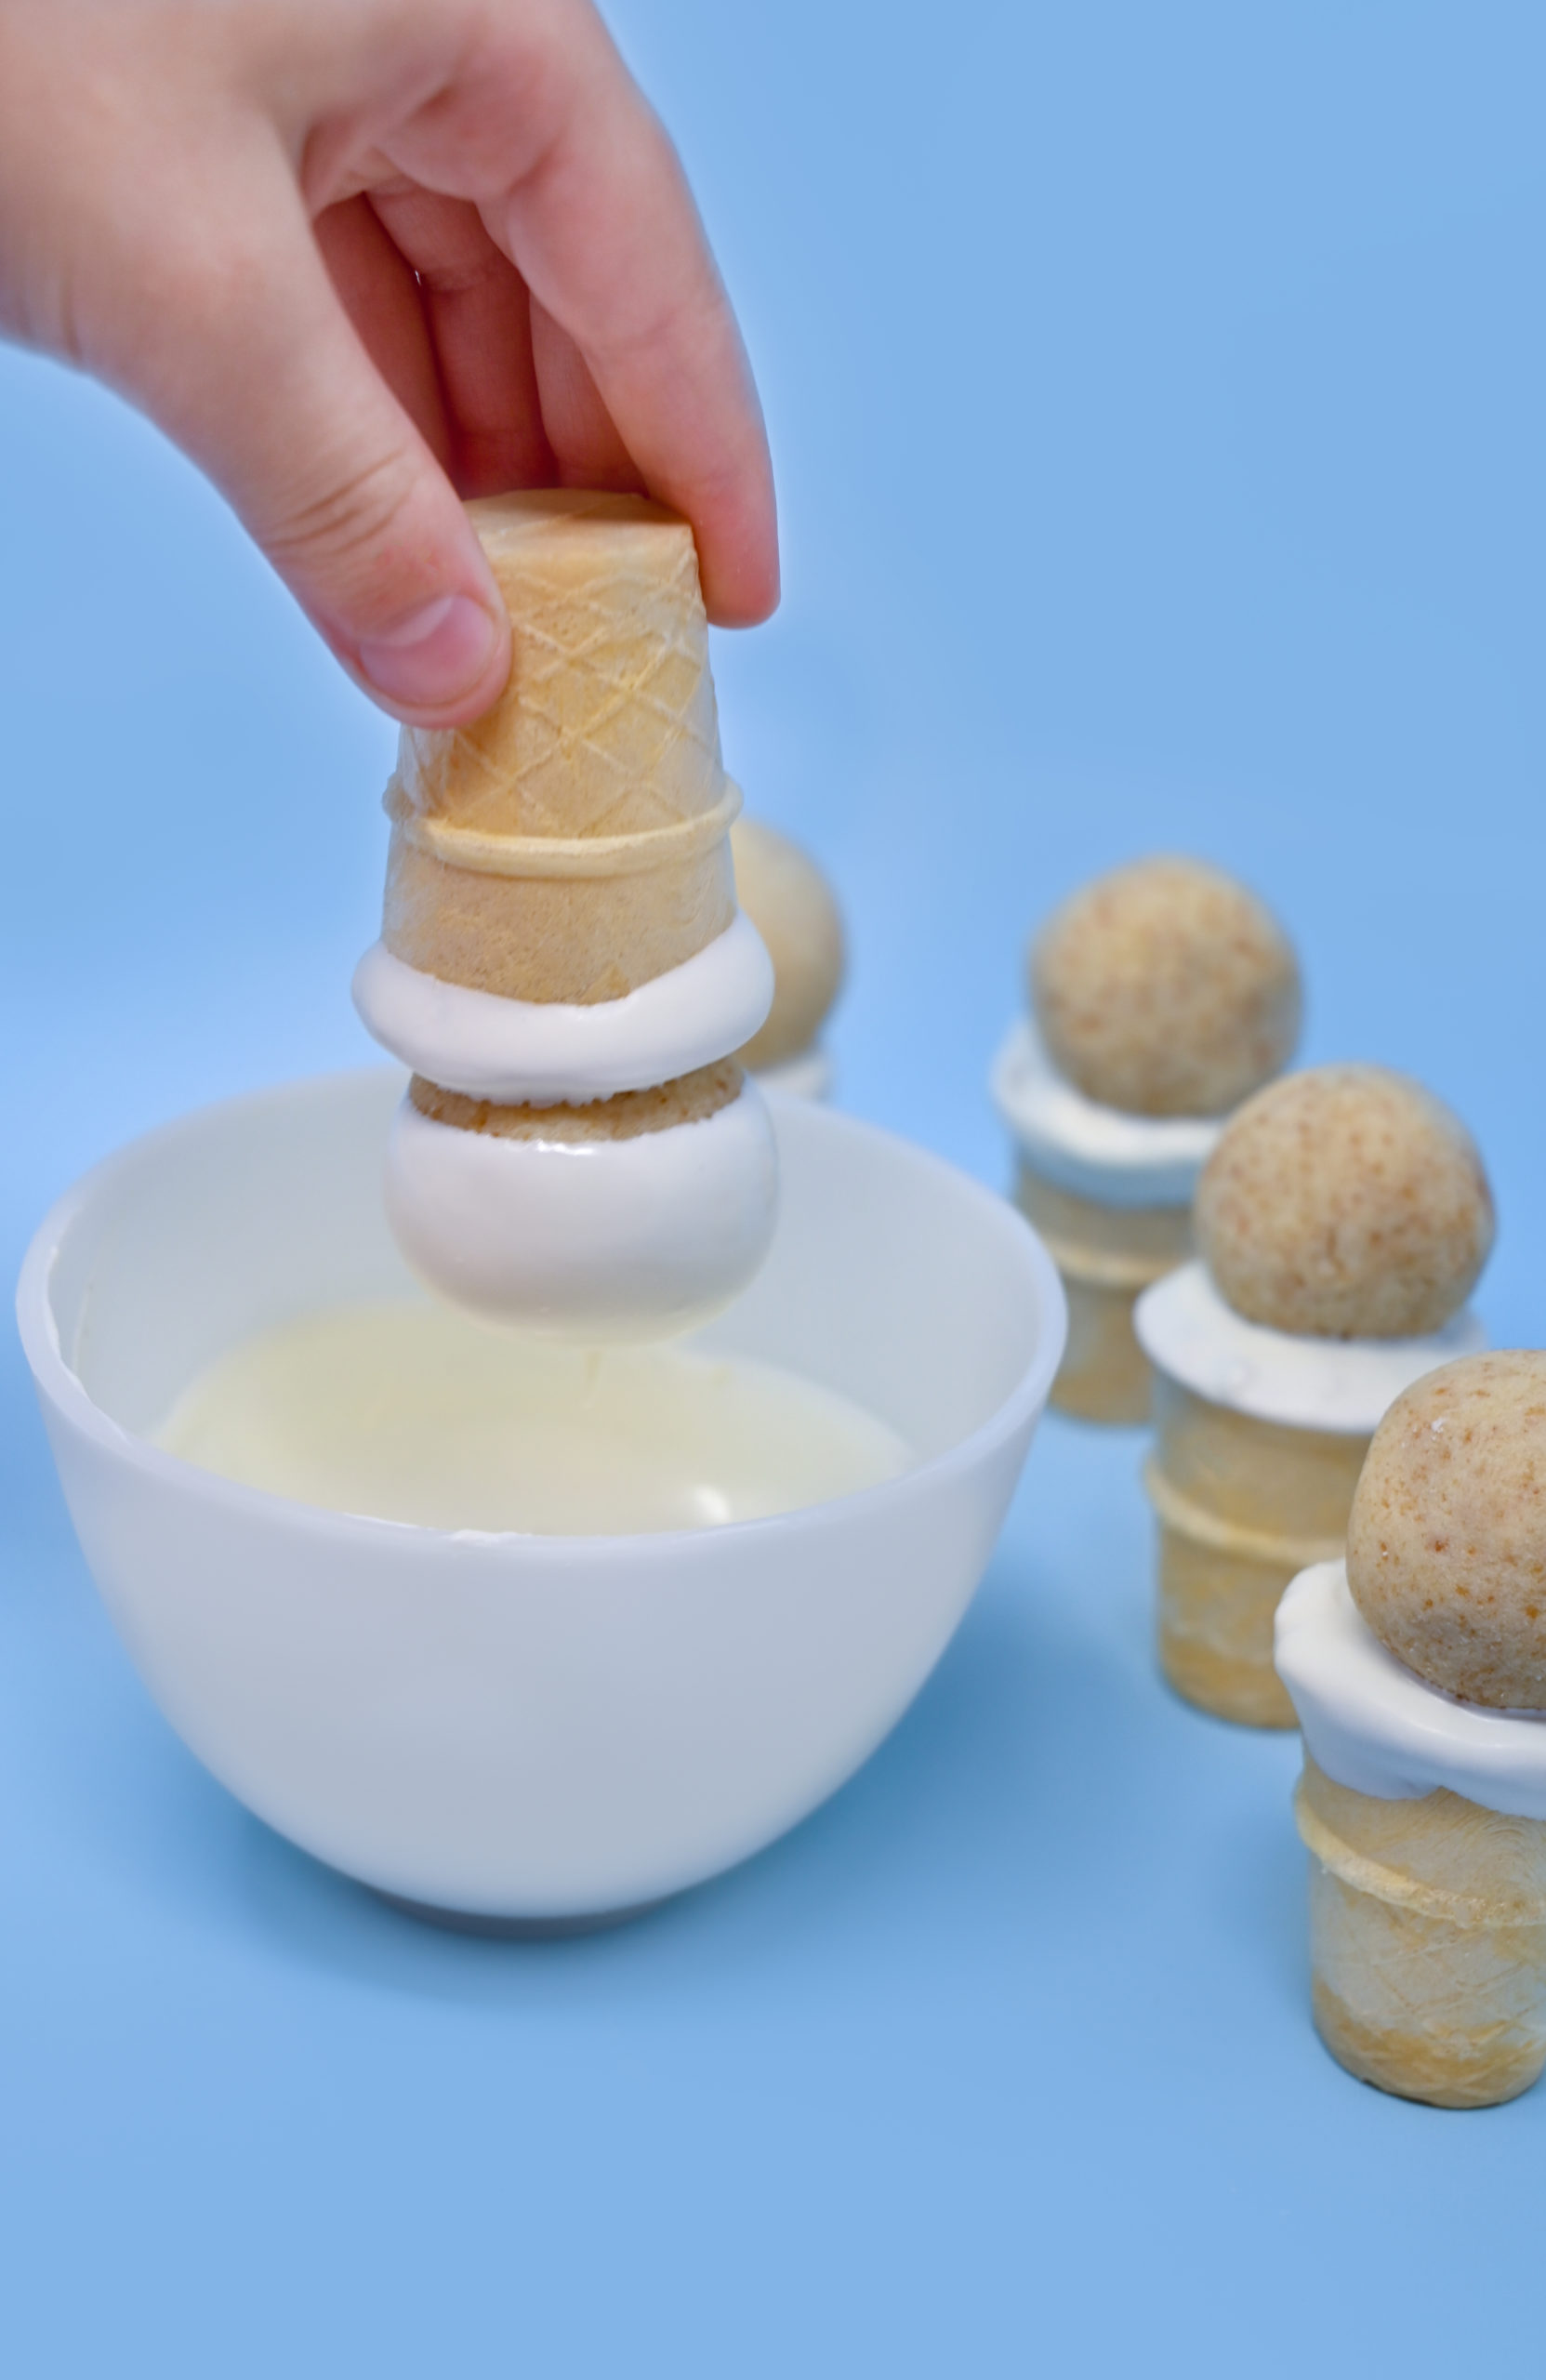
STEP 3: Assemble the cake pops – Using a microwave safe bowl, melt the candy melts according to the directions on the package. Dip only the top of the cone into the melted candy and place the cake ball on top, set upright and allow the assembled cones to cool (or set) completely.
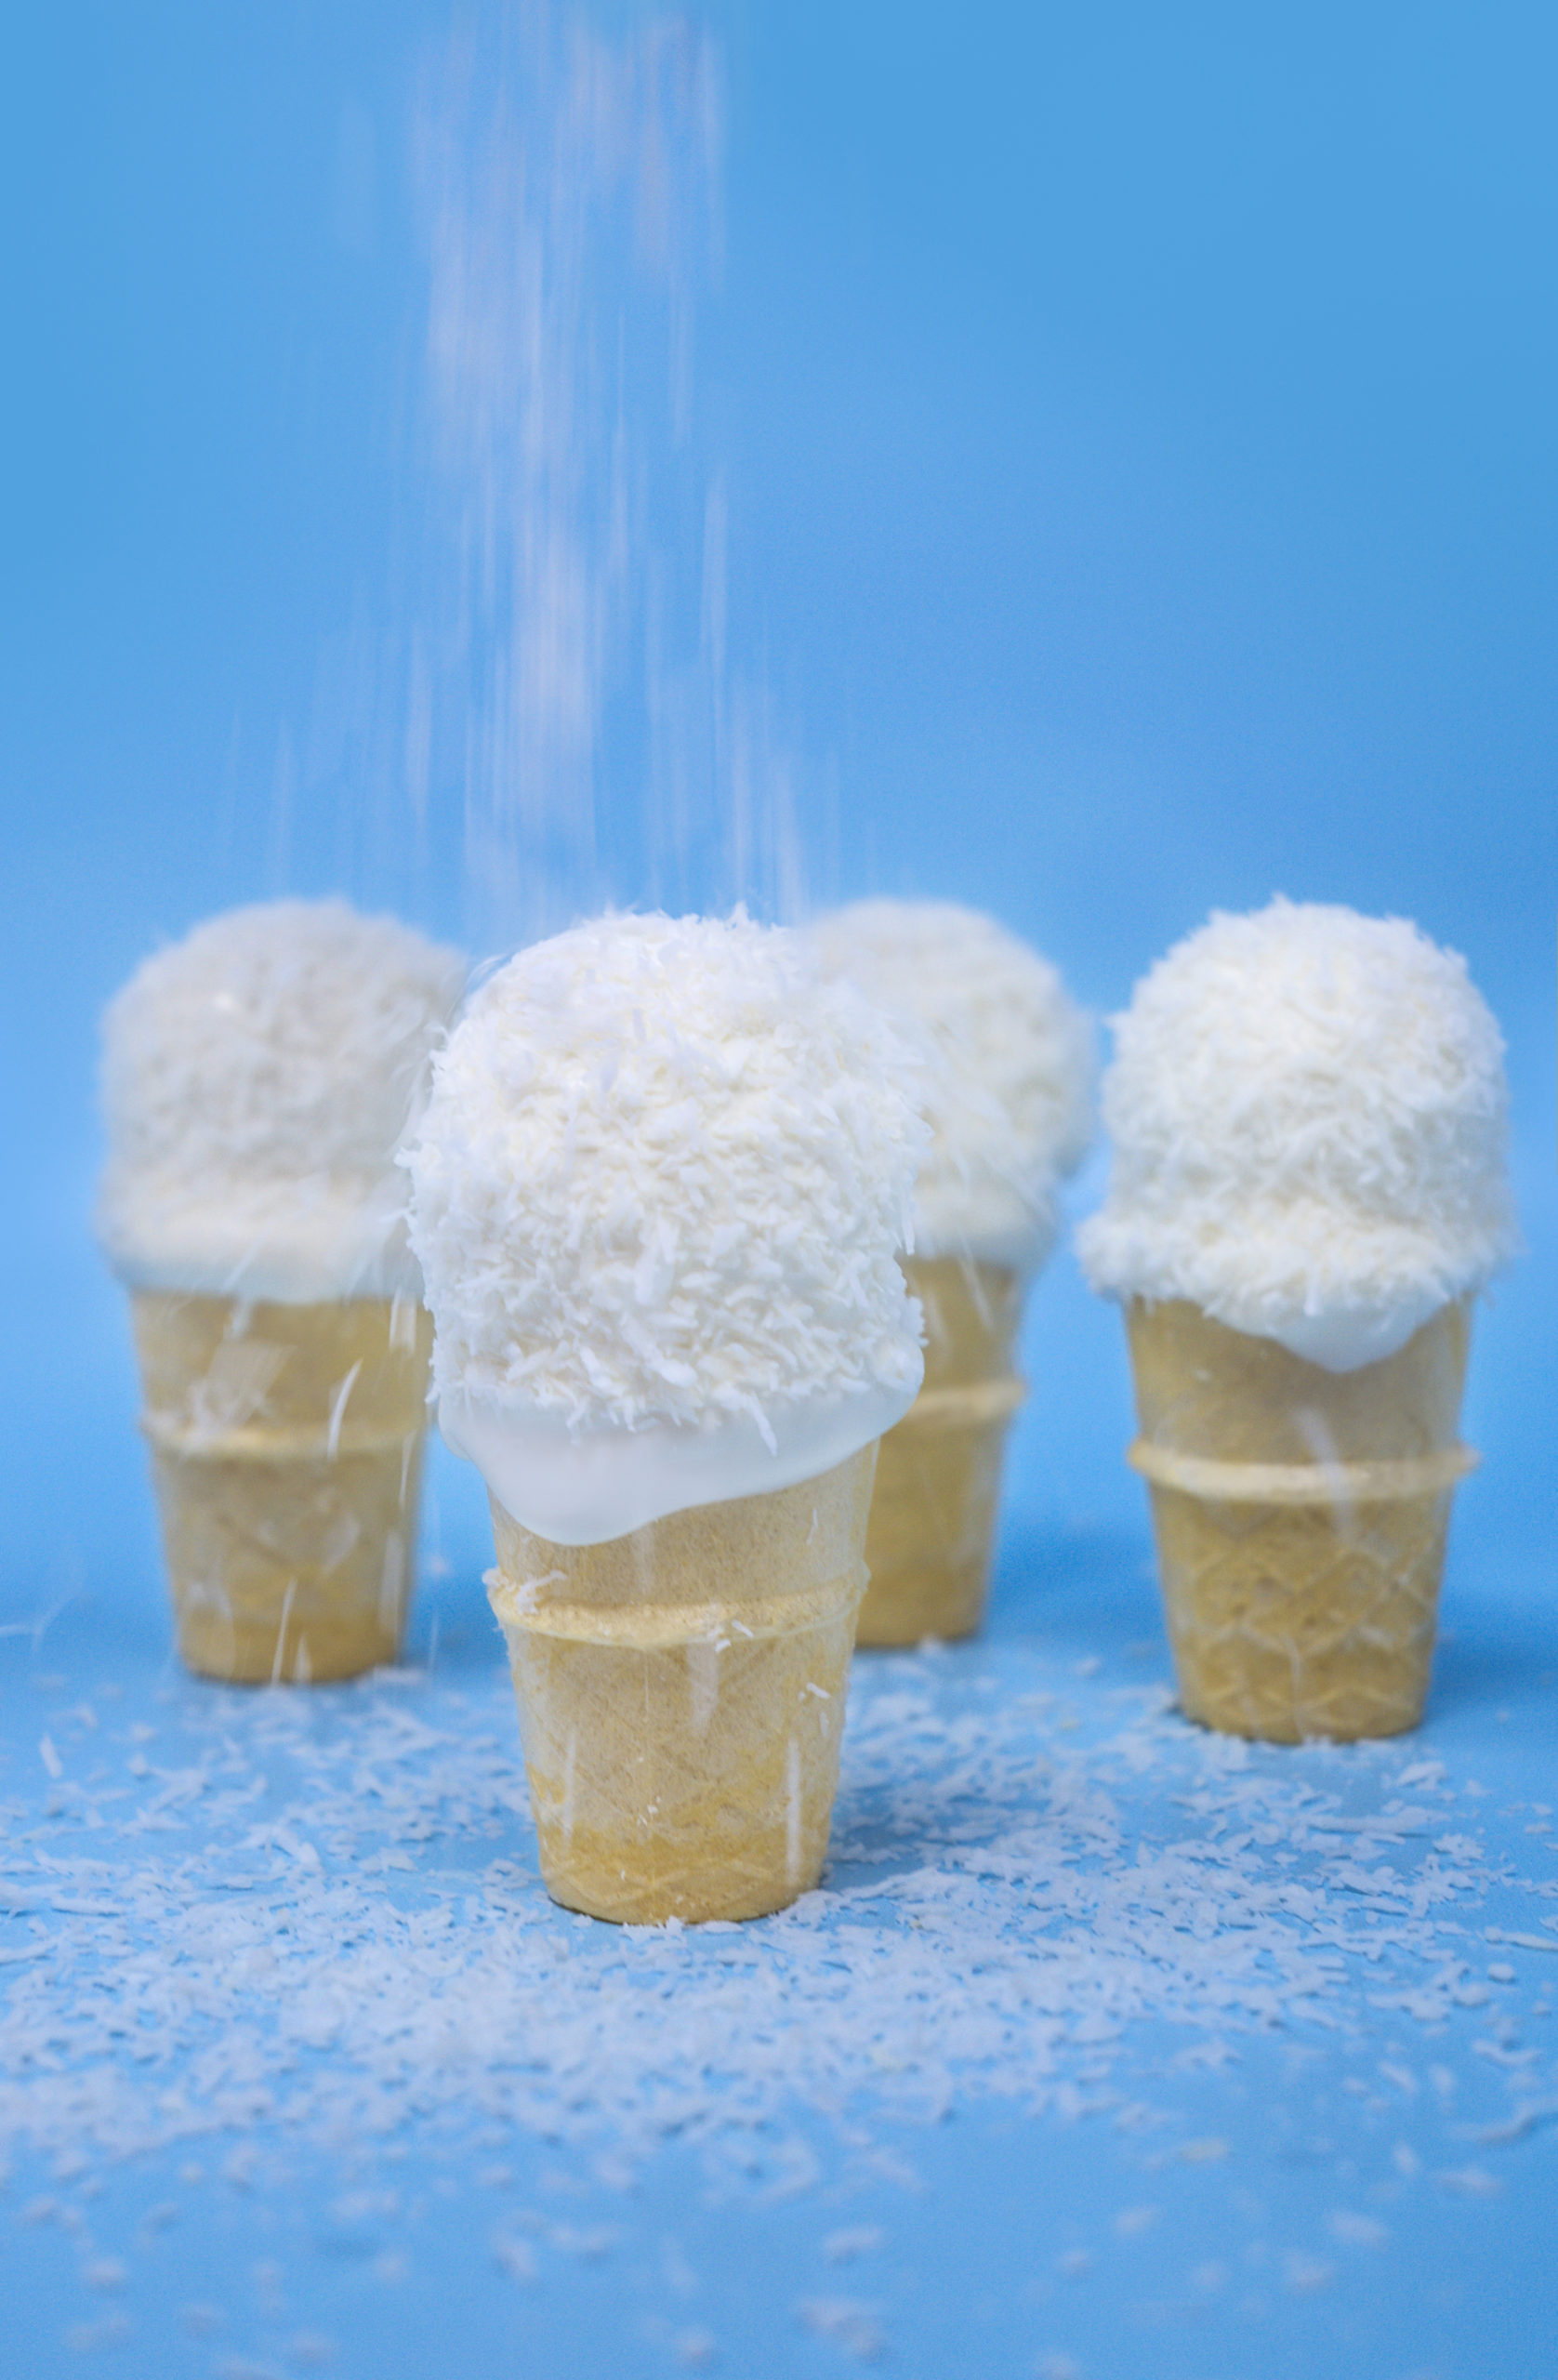
STEP 4: Dip and decorate – Re-melt the candy melts, then dip and cover the entire cake ball. Set upright on a baking sheet covered with parchment paper and sprinkle the entire cake pop with shredded coconut. (Note: If you can only find flaked coconut, use a food processor to finely shred the flakes)
Let stand until the chocolate coating is firm and dry. Serve and EnJOY!
Top
Recent Comments